The Best Fluffy Pancakes recipe you will fall in love with. Full of tips and tricks to help you make the best pancakes.

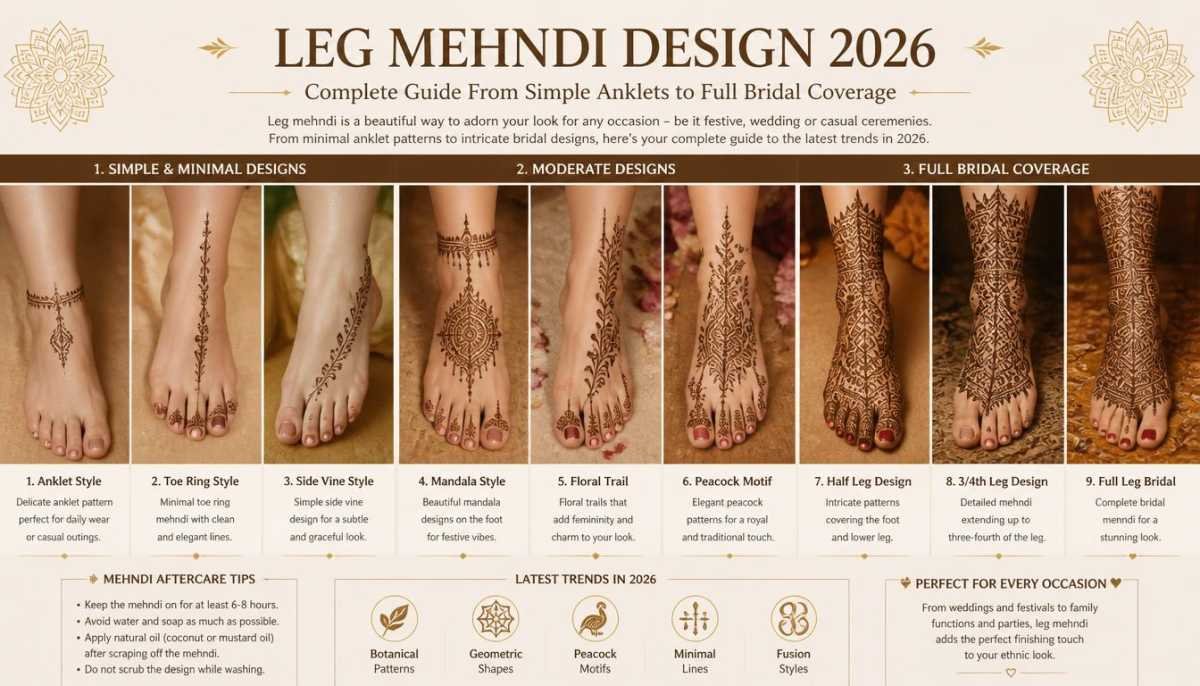
Two days before her wedding, my cousin sat on a sheet on the drawing room floor at midnight while a mehndi artist from Model Town mapped out her leg design with a thin pencil line from her ankle to her knee.
She spent weeks perfecting her hand mehndi, carefully comparing countless designs. Her leg mehndi, however, barely crossed her mind until the last minute. The artist took one look at her lehenga, asked a couple of questions about her jootis, and created a design that became one of the most photographed details of the entire wedding.
That’s the thing about leg mehndi: it gets the least planning and somehow delivers the most impact when it’s done right.
What Makes Leg Mehndi Design Different From Hand Mehndi
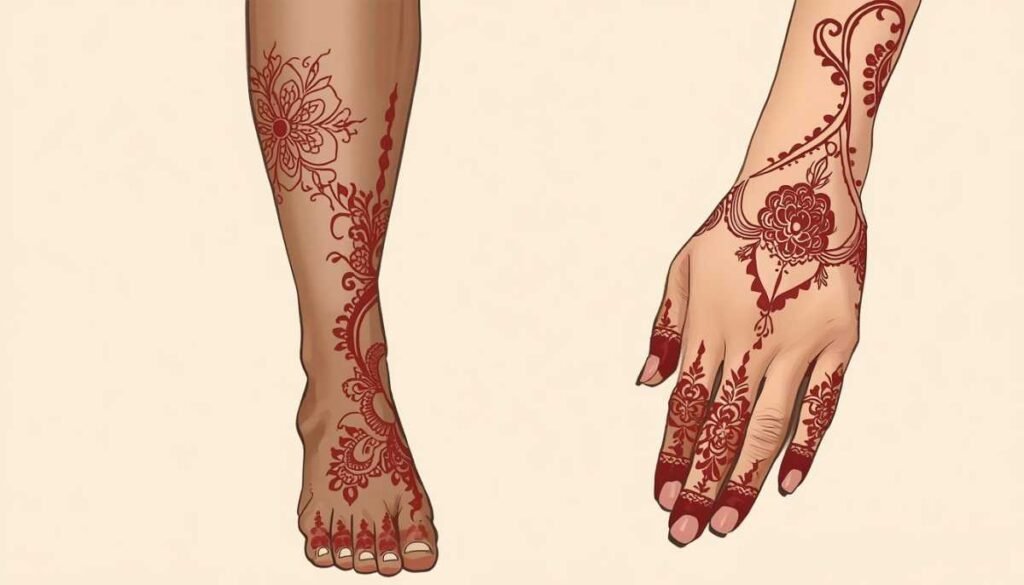
Hand mehndi is seen up close across a table, in ring ceremony photographs, held up deliberately for guests to admire. Leg mehndi is seen differently. It’s glimpsed between a lehenga hem and a jooti. It catches the light when you walk. It appears in photographs from angles you didn’t plan for.
Leg skin also absorbs henna differently from palm skin. The palm has a naturally thicker outer skin layer that holds dye exceptionally well, which is why palm mehndi stains darkest.
Leg and foot skin varies; the top of the foot stains lighter than the sole, and the shin stains lighter than the ankle area. An experienced mehndi artist accounts for this by adjusting paste consistency and application pressure across different parts of the leg.
Leg Mehndi Placement Guide: Ankle vs Foot vs Full Leg
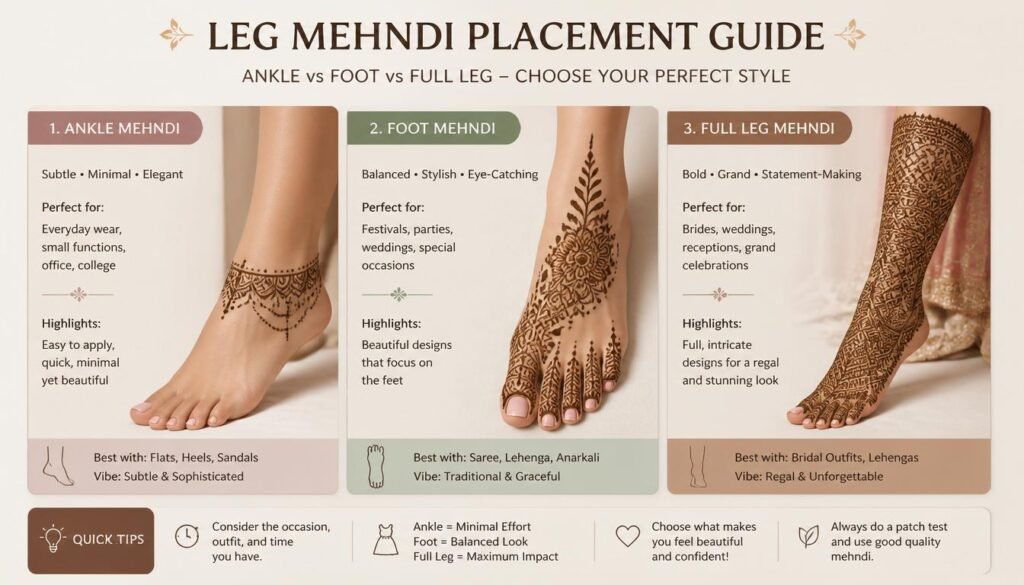
The placement decision is the most important one to make before any design discussion. Each placement creates a completely different visual effect and suits different occasions.
Ankle Only Subtle and Jewelry-Like
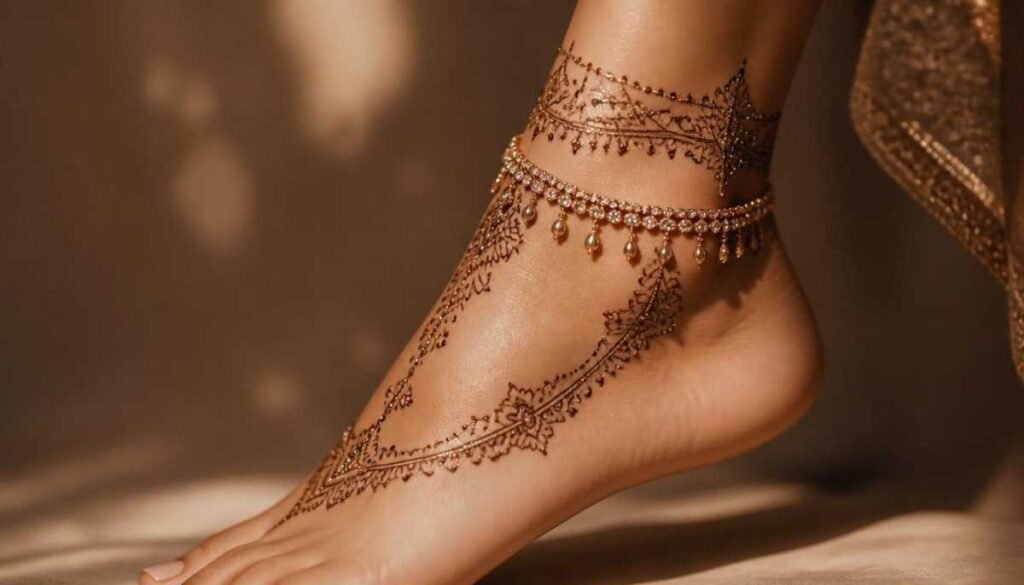
An ankle-only design wraps around the ankle like a permanent bracelet. It’s the most versatile placement because it works for every occasion, from casual Eid to bridal wear, it stays hidden under trousers and shalwars when needed, and it’s the fastest to apply and care for.
For non-bridal occasions, ankle mehndi is often the right choice because it adds the visual finish of leg decoration without the commitment of a full foot or leg design.
It also suits open-toed heels particularly well, the anklet frames the foot from above while the shoe frames it from below.
Foot and Toes Classic Bridal Placement
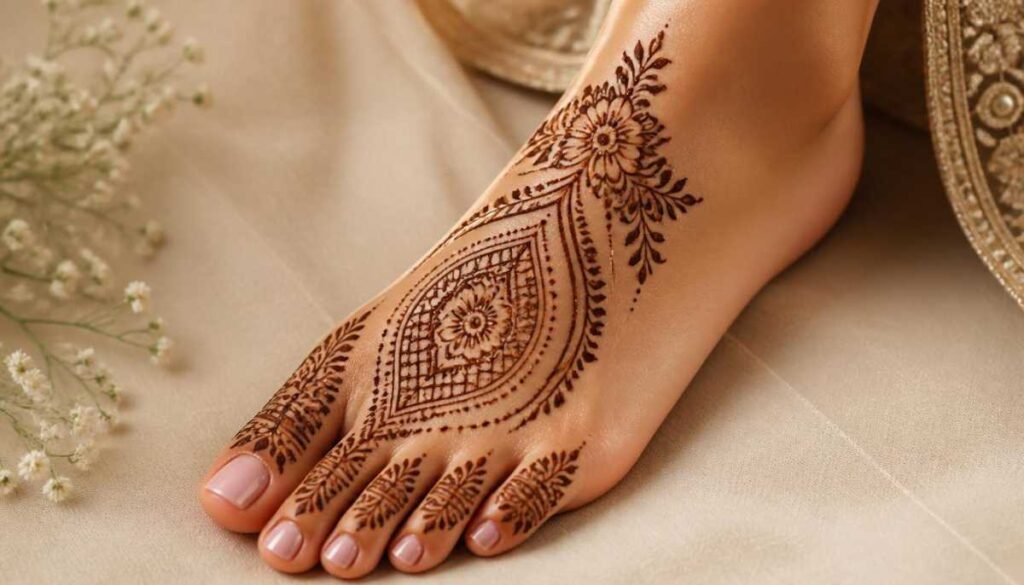
Full foot coverage, top of the foot, sides, toes, and connecting up to the ankle, is the most classic bridal leg mehndi placement. It’s what most people picture when they imagine bridal leg henna, and it works because the foot is the most visible part of the leg during a wedding, especially when wearing jootis, sandals, or heels.
Toe mehndi as part of a full foot design mimics the look of toe rings, which is why it photographs so well alongside actual jewelry. The combination of mehndi toe detailing and real gold toe rings creates a layered effect that reads as deliberate rather than accidental.
Half Leg Shin to Ankle
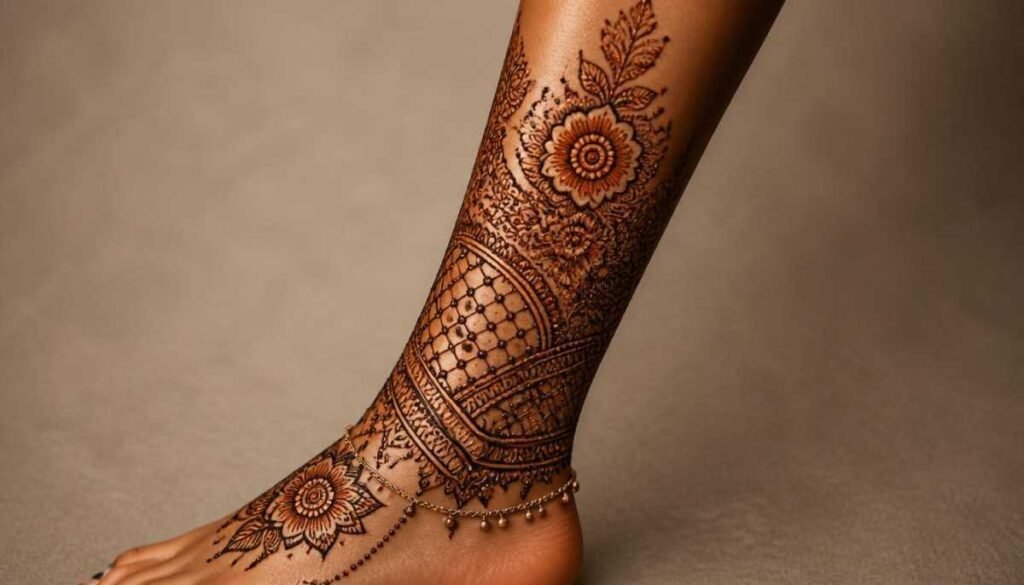
A half-leg design runs from approximately mid-shin down to the toes, leaving the knee and upper leg bare. This placement has grown significantly in popularity in 2026 because it offers the visual impact of an elaborate leg design without the sitting time of full coverage.
Half leg mehndi also suits lehengas and sharara outfits better than full leg coverage in many cases — the lehenga hem typically falls at or just above the ankle, which means mid-shin to ankle designs peek out beautifully when walking without requiring the full leg to be decorated.
Full Leg Knee to Toes
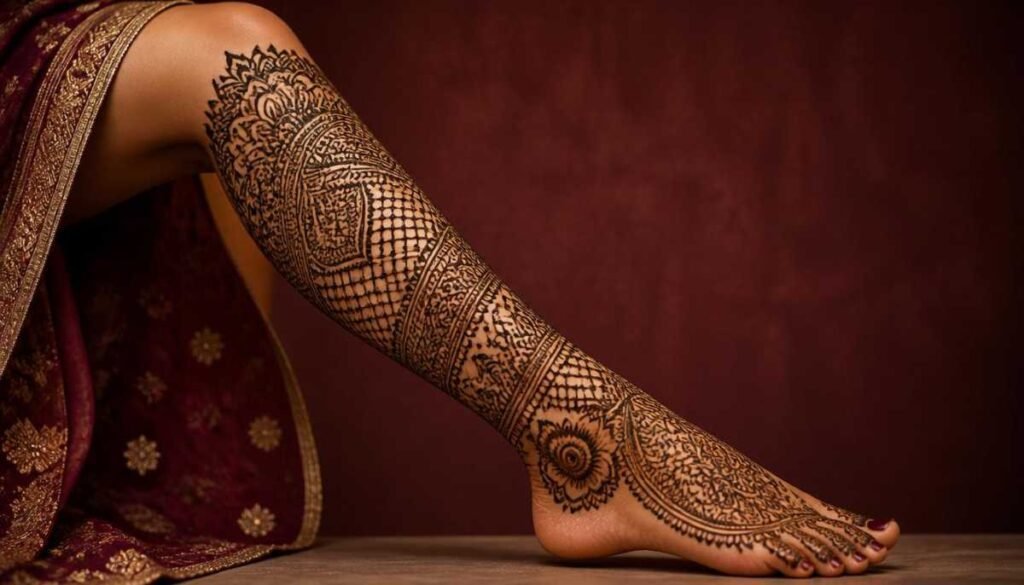
Full leg coverage from the knee downward is reserved for heavy bridal occasions and elaborate mehndi ceremonies where the legs will be fully visible, and the sitting time, typically three to five hours for both legs, is available.
This placement works best for brides wearing short lehengas, sharara styles where the legs are more visible, or for the mehndi ceremony itself, where the bride often sits with legs extended and the design becomes part of the ceremony’s visual experience.
Simple Leg Mehndi Design For Non-Bridal Occasions
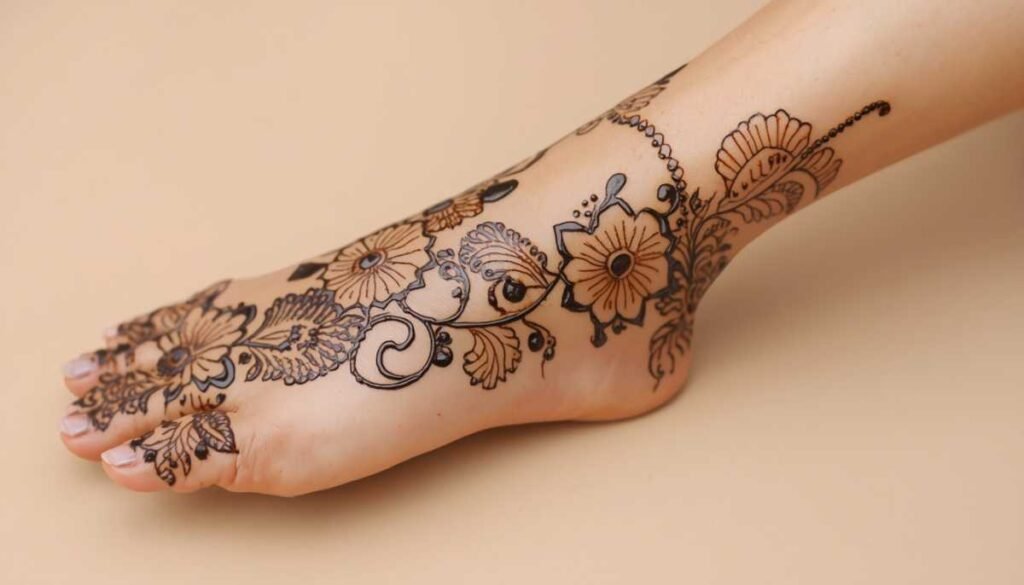
Simple leg mehndi doesn’t mean a design that looks unfinished. It means a design built for occasions where coverage isn’t expected, such as Eid functions, family gatherings, and casual wedding guest appearances.
Ankle Dot Bracelet
A single row of dots circling the ankle, alternating large and small for variation, or uniform for a cleaner look, is the fastest complete leg mehndi design. It reads as jewelry rather than traditional mehndi, which gives it a contemporary quality that suits younger women who want something intentional without looking heavily decorated.
A small floral element at the center front of the ankle, where a charm would sit on an actual bracelet, completes the jewelry illusion without significantly increasing application time.
Small Floral on Top of Foot
A single flower centered on the top of the foot, with two or three leaves trailing toward the toes and a simple dot border around the edges, is a complete standalone design for casual occasions. It stays visible in open-toed sandals and heels, dries quickly, and looks finished without requiring any additional elements on the ankle or shin.
Anklet Mehndi Design: The Most Requested Style in 2026
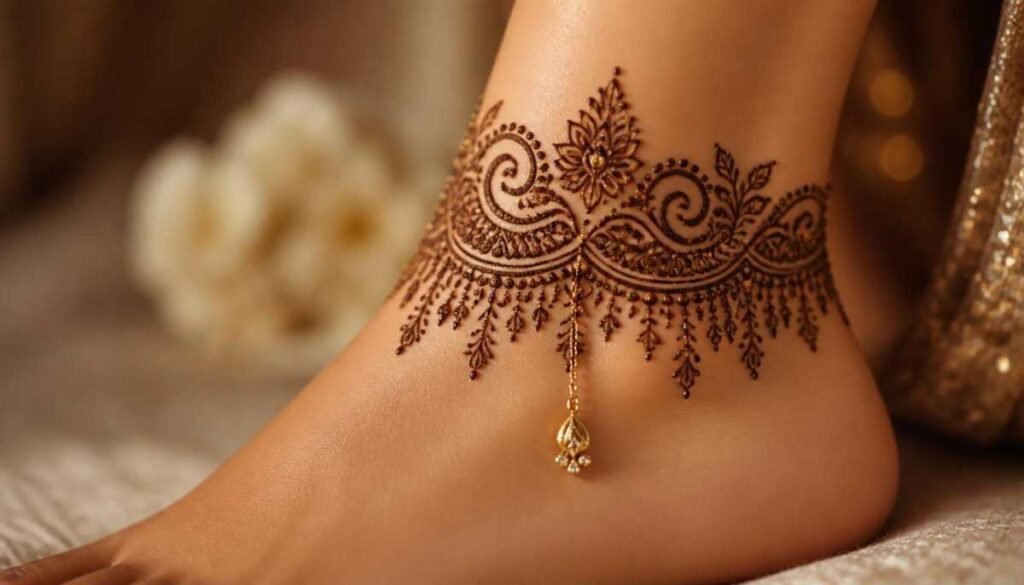
Anklet mehndi has become the single most requested leg mehndi style in 2026, and it’s not hard to understand why. It looks like jewelry, applies quickly, suits every outfit, and photographs beautifully, whether the subject is sitting, standing, or walking.
Chain-Style Anklet
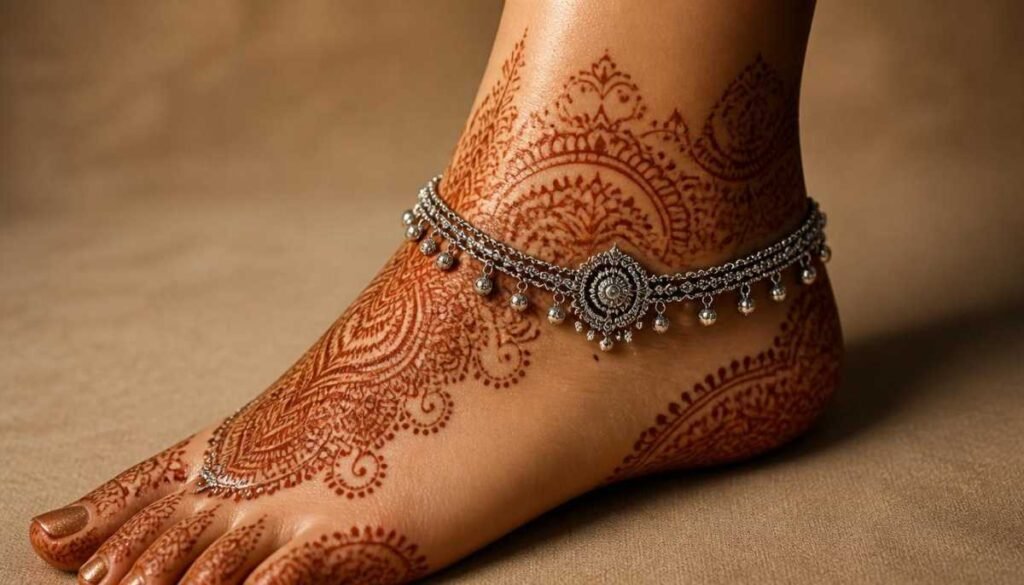
A chain-style mehndi uses small connected links, diamond shapes, oval links, or simple repeating arcs to create the impression of a metal chain wrapped around the ankle. The links can be filled or outlined depending on how heavy you want the overall look.
For brides, chain anklet mehndi often connects to the toe design below and the shin design above, unifying the entire leg composition. For non-bridal occasions, the chain anklet works as a standalone design that needs nothing else to feel complete.
Floral Anklet with Toe Ring Connection
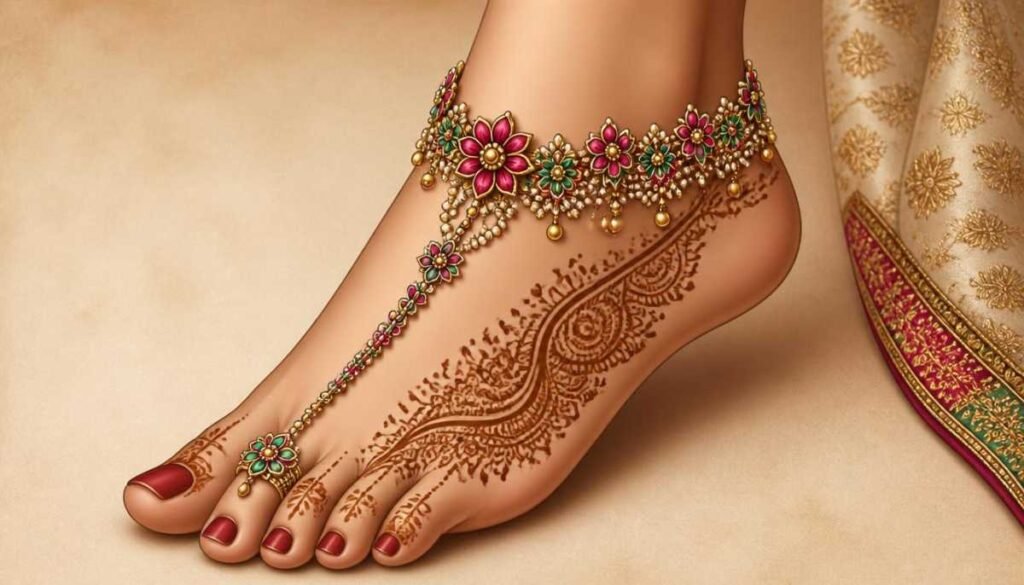
A floral anklet, small flowers connected by thin vines running around the ankle with a thin line extending down to a small ring motif on the big toe, creates the look of an actual payal (anklet) with toe ring attachment. This combination has become one of the most shared leg mehndi styles on Instagram and Pinterest in 2026 because it reads as genuine jewelry when photographed from the right angle.
The connection line from ankle to toe needs to follow the natural arch of the foot rather than running straight across the top; the curved path makes the design look anatomically natural rather than placed randomly.
Bridal Leg Mehndi Design Full Coverage Style
Rajasthani Full Leg Bridal
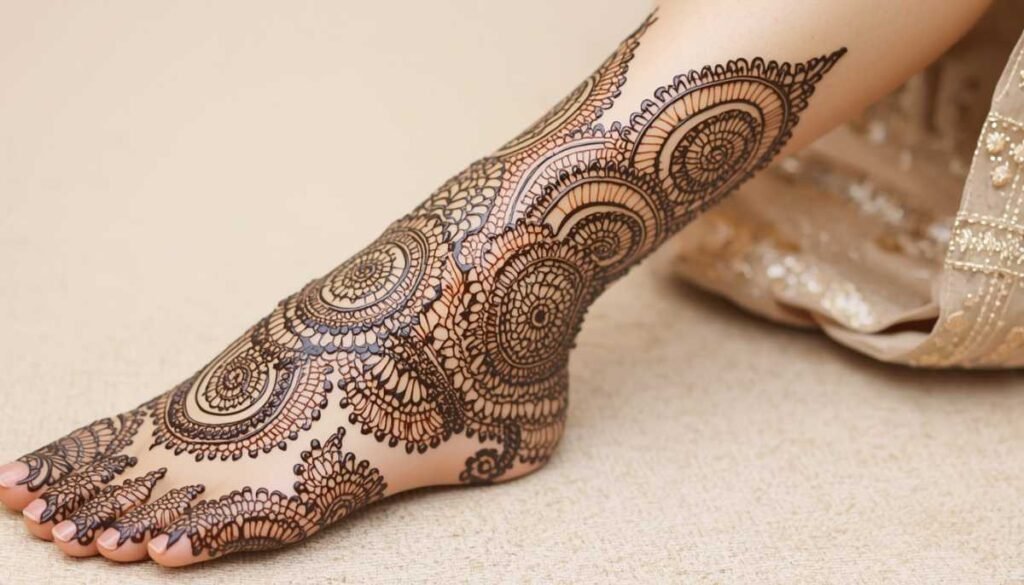
Rajasthani bridal leg mehndi covers both legs completely from knee to toes with dense, narrative-rich compositions. Doli scenes, elephant processions, peacocks, and heavy floral filling create a design that tells a story rather than simply decorating a surface.
This style requires six to eight hours for both legs and a highly skilled artist who specializes specifically in Rajasthani work. The application session for legs alone is often treated as a separate appointment from the hand mehndi, scheduled the day before the wedding to allow overnight stain development.
Modern Minimal Bridal Leg
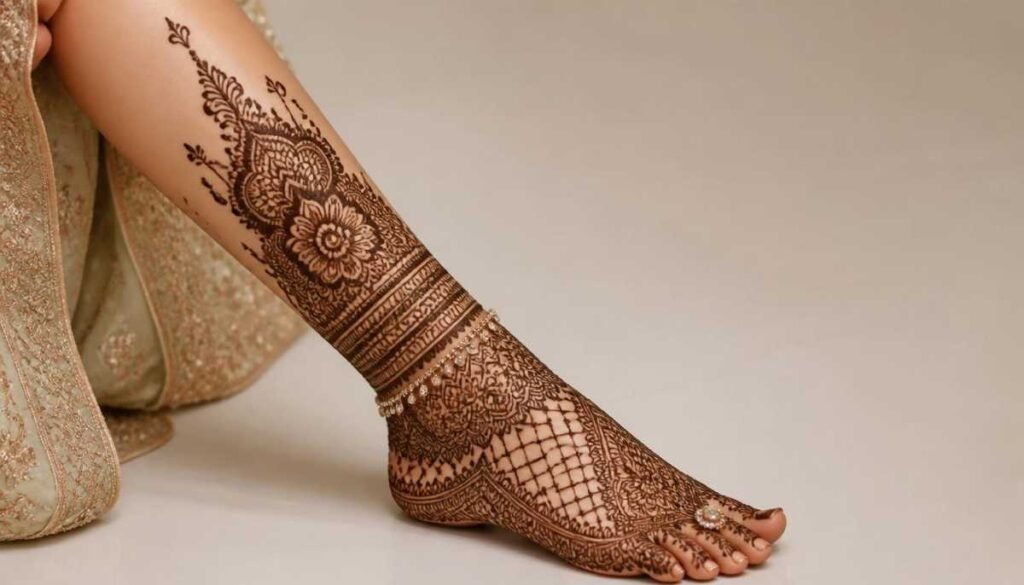
For brides who want bridal coverage without the density of traditional styles, a modern minimal bridal leg design focuses on one strong element: a large mandala on the top of the foot, a half lotus on the ankle, or a bold Arabic floral on the shin, and lets the surrounding skin breathe.
This approach has grown in popularity among contemporary brides who want their leg mehndi to look intentional and artistic rather than simply covered. The photographs tend to be stronger because each design element is individually visible rather than merging into a single dark mass.
How Long to Keep Mehndi Paste on Legs
Leg mehndi needs significantly longer paste-on time than hand mehndi to develop a comparable stain, and this is one of the most commonly underestimated aspects of leg henna application.
For hands, four to six hours of paste-on time produces a good stain. For legs, particularly the shin, calf, and top of the foot, where skin is thinner and less absorbent than palm skin, a minimum of eight hours is recommended. Overnight application is genuinely the best approach for legs, leaving the paste on for ten to twelve hours before removal.
The lemon-sugar mixture dabbed over drying paste helps the stain develop on leg skin specifically because it keeps the paste slightly moist and in contact with the skin longer than dry paste would remain. Reapply it once or twice during the drying period for the best result.
After paste removal, avoid water on the leg mehndi for at least twelve hours. Leg designs fade faster than hand designs in general because leg skin exfoliates more quickly than palm skin, so the aftercare window matters more here than with hand mehndi.
Practical Tips Before Leg Mehndi Application
Most people don’t think about preparation before leg mehndi, and small oversights make a real difference to the finished stain.
If you wax or shave your legs, do it at least 48 hours before the mehndi appointment. Freshly removed hair leaves the skin slightly sensitized and more prone to uneven absorption. Allowing two days between hair removal and mehndi application gives the skin time to settle.
Exfoliate your legs gently the day before, not the day of. Fresh exfoliation removes the dead skin layer that mehndi stains and can actually reduce stain intensity if done too close to the application.
Avoid applying any lotion, oil, or moisturizer on the day of application. These create a barrier between the henna paste and the skin that significantly reduces stain depth. Go in with clean, bare skin and apply oil only after the paste has been removed.
Wear loose clothing on the day of your leg mehndi appointment. Tight fabric pressed against fresh paste during the drying period smudges designs and limits the paste’s contact time with the skin.
Final Thoughts
Leg mehndi deserves more planning than it typically gets. The placement, the style, the paste-on time, and the outfit compatibility all affect whether the finished design looks like a deliberate artistic choice or an afterthought added to the to-do list the week of the wedding.
A single well-placed anklet design done properly will always look better than an elaborate half-leg composition applied in a rush. Choose the placement first, match it to the outfit second, and choose the design style last. In that order, leg mehndi almost always turns out exactly as intended.
FAQs
Q1: How long should I keep mehndi paste on my legs?
Keep the mehndi paste on your legs for at least eight hours. Leaving it on overnight is ideal for the darkest stain. Since leg skin absorbs henna more slowly than the palms, extra time helps create a richer color that lasts longer.
Q2: Which leg mehndi design is best for a lehenga?
A full foot mehndi design with anklet-inspired patterns is one of the best choices for a lehenga. It remains visible while walking and complements heavily embroidered outfits without overpowering the overall bridal look.
Q3: Should I wax my legs before applying mehndi?
Yes. Wax your legs at least 48 hours before applying mehndi. Freshly waxed skin can be more sensitive and may absorb henna unevenly. Waiting two days allows your skin to recover, resulting in a smoother application and a more even stain.

Aiza Artistry is a passionate Mehndi artist and creative designer who specializes in elegant Arabic, bridal, and modern henna designs. With a love for traditional beauty and artistic expression, Aiza creates unique and easy-to-follow Mehndi patterns for every occasion.