The Best Fluffy Pancakes recipe you will fall in love with. Full of tips and tricks to help you make the best pancakes.

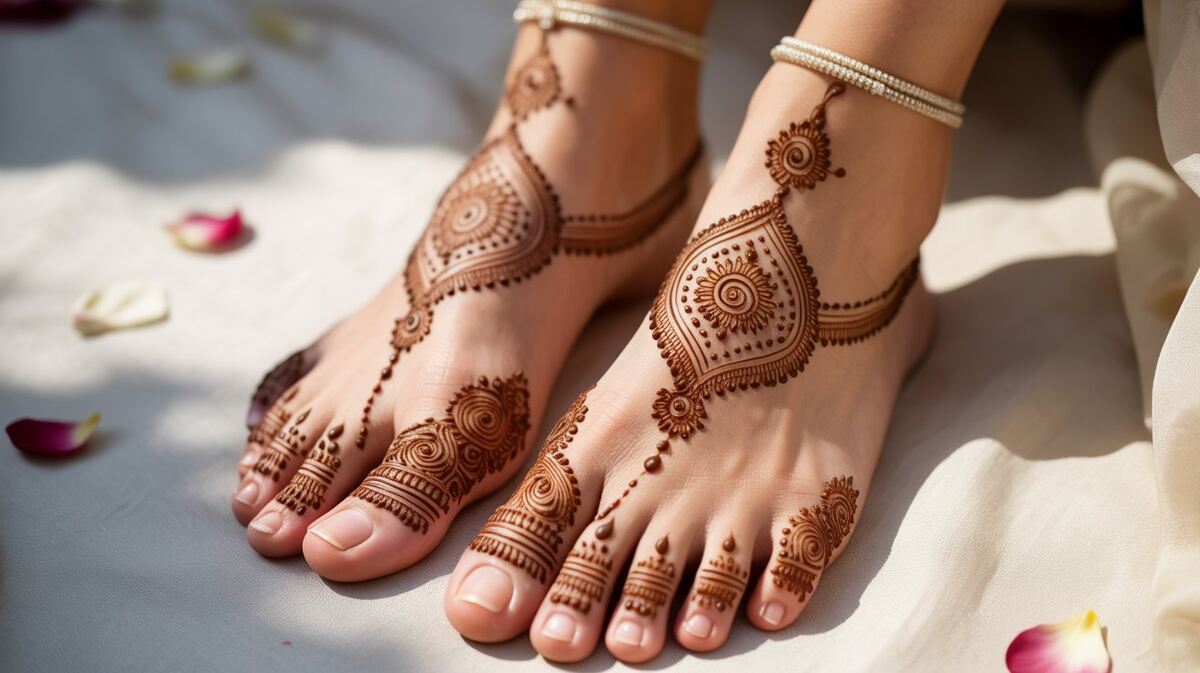
Foot mehndi design covers everything from simple toe patterns to full bridal foot coverage with intricate floral and geometric motifs. Most stylish foot mehndi designs take 30 to 90 minutes to apply depending on complexity. This guide covers the top styles by occasion, skill level, and body placement so you find exactly what you need.
I still remember sitting on a plastic stool at a mehndi stall near Anarkali Bazaar in Lahore while a baji traced a fine vine pattern across the top of my foot right down to my toes. She charged 400 rupees and it lasted nine days. That experience made me obsessed with how much a good foot design changes the entire look of a bridal outfit or even a casual eid look.
Below you will find every major category of foot mehndi design broken down by style difficulty and occasion. Whether you want something simple for everyday wear or a heavy bridal pattern for your wedding day this guide has real suggestions that actually work.
Why Foot Mehndi Design Is Different From Hand Mehndi
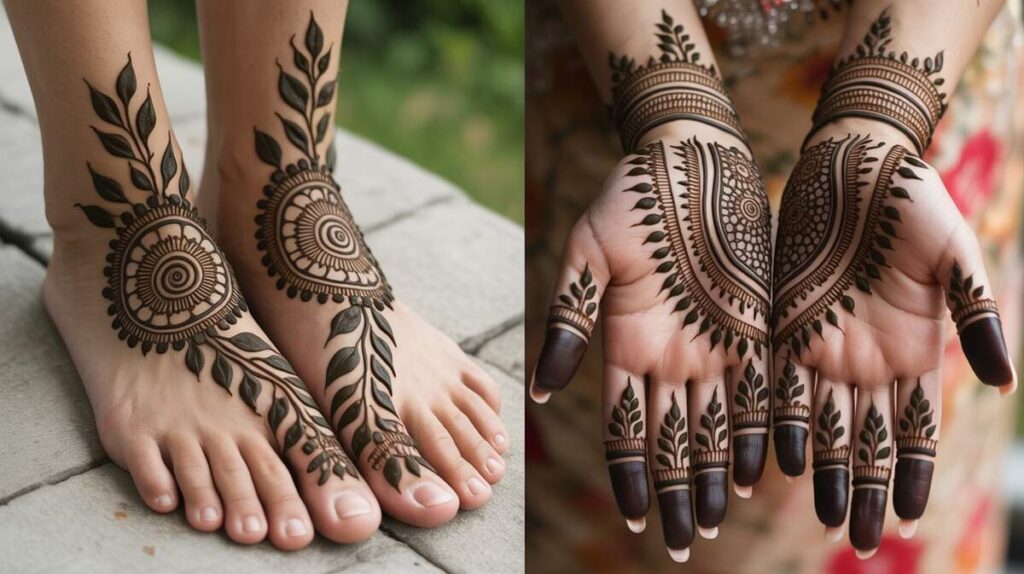
Most people focus on hands when thinking about mehndi. However foot mehndi design deserves just as much attention because it completes the overall bridal or festive look in a way that hands alone cannot achieve.
The skin on the top of the foot is smooth and flat which means henna stains deeply and lasts longer there compared to palms. In reality a well applied foot design can stay visible for 10 to 14 days with proper aftercare. That is longer than most hand designs which fade in 7 to 10 days.
Foot designs also tend to look more dramatic in photos. When a bride lifts the hem of her lehenga even slightly the foot mehndi is immediately visible. That visual impact is why most brides and wedding guests take foot mehndi just as seriously as their hand designs.
Simple Foot Mehndi Design for Everyday Wear
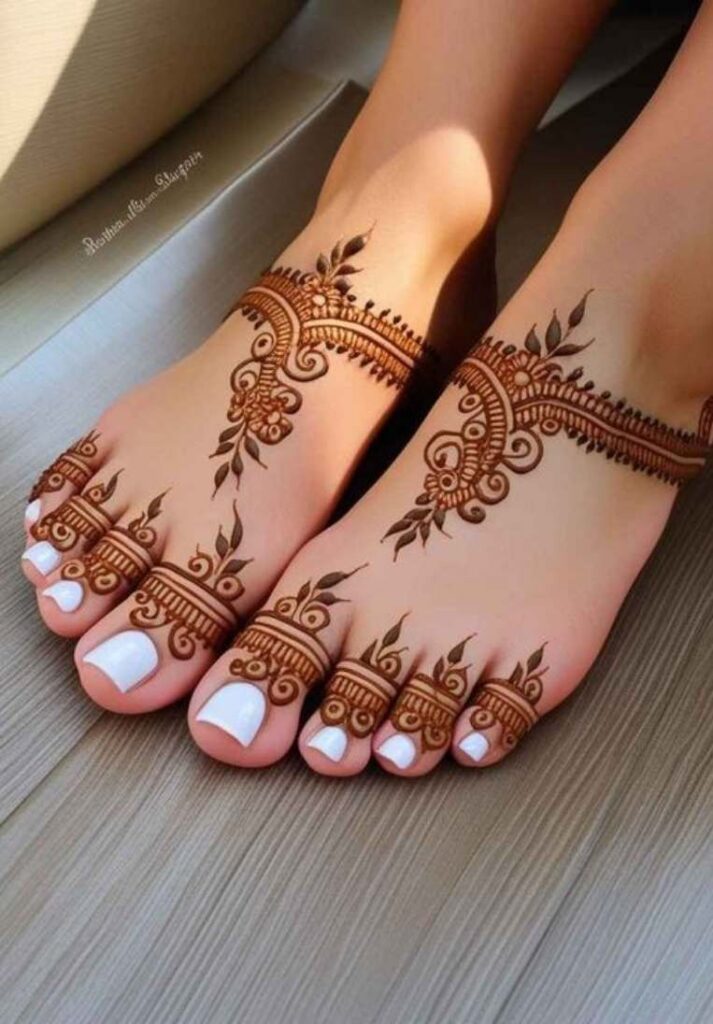
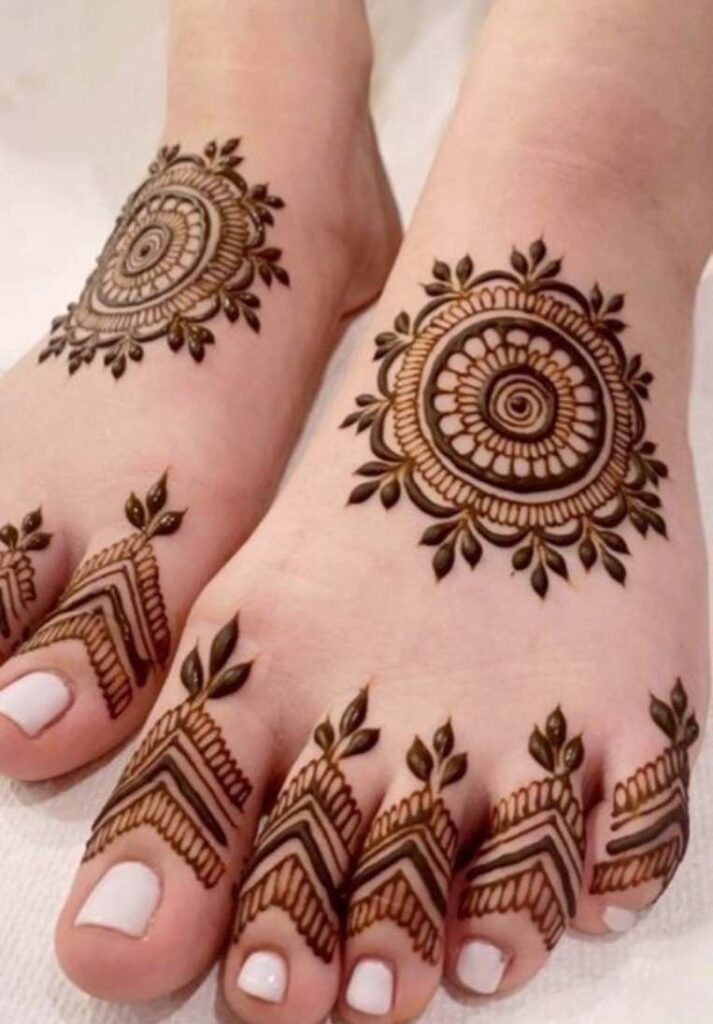
Not every occasion calls for heavy coverage. Girls and women reach for simple foot mehndi designs most often during
- Eid celebrations
- Casual family gatherings
- College functions
- Personal wear during summer
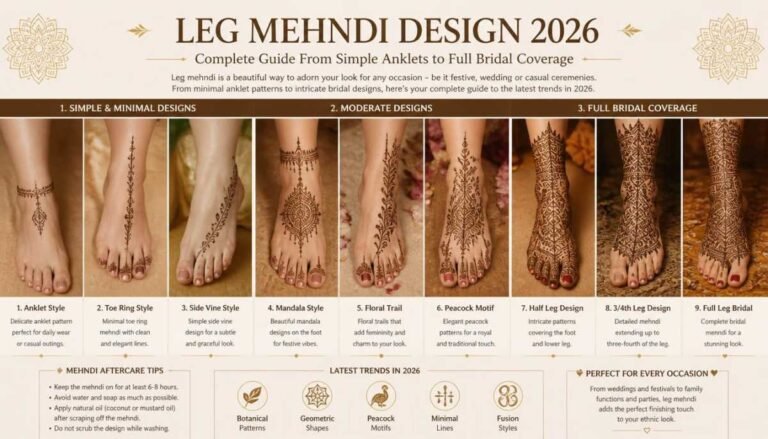
The most popular simple styles include a single vine running from the ankle down to the big toe with small leaves branching off on both sides. Another widely loved option is a minimal floral cluster placed just above the toes with nothing else on the foot. That negative space makes the design feel modern and clean.
For beginners a simple dot and circle pattern around the ankle works beautifully. It requires only basic cone control and looks intentional rather than rushed.
| Design Type | Time to Apply | Skill Level | Best Occasion |
| Single vine with leaves | 15 to 20 minutes | Beginner | Daily or Eid |
| Ankle bracelet pattern | 20 to 30 minutes | Beginner | Casual functions |
| Floral toe cluster | 25 to 35 minutes | Intermediate | Parties |
| Full top foot coverage | 45 to 60 minutes | Intermediate | Weddings |
| Bridal full foot and ankle | 75 to 120 minutes | Professional | Bridal only |
Stylish Foot Mehndi Design: What Makes It Look Professional
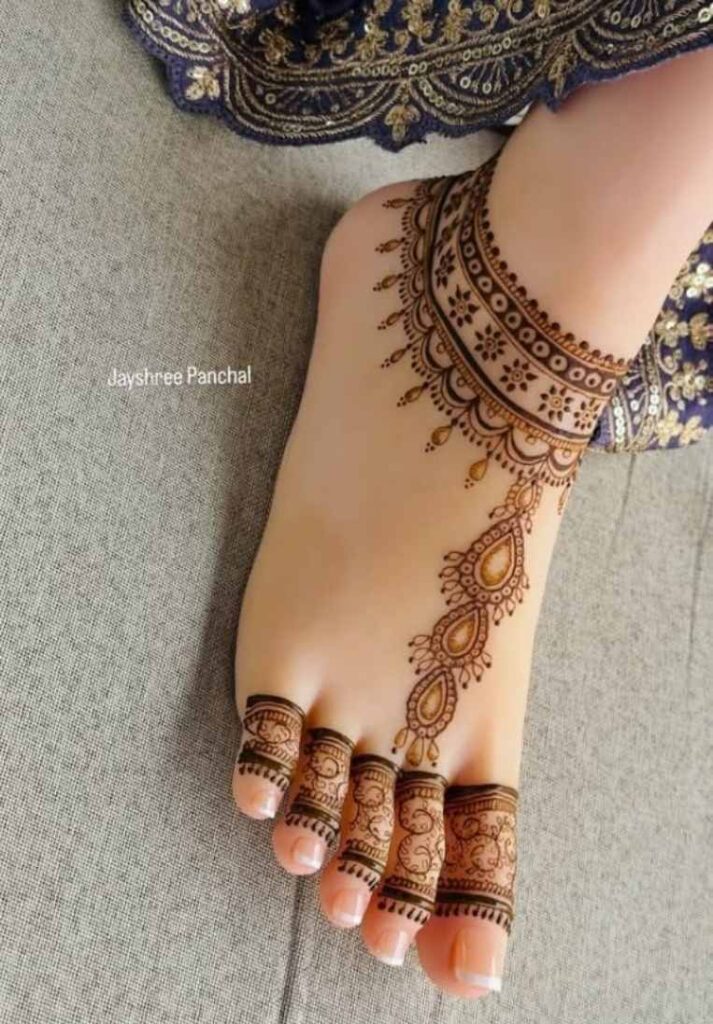
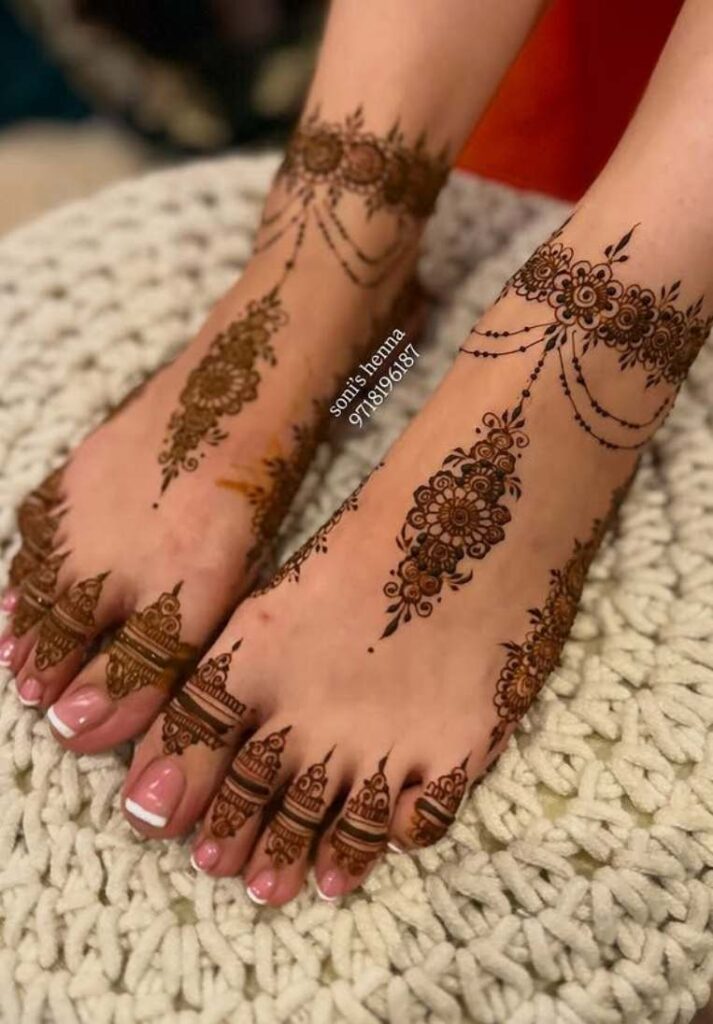
The difference between a design that looks homemade and one that looks professional comes down to three things: clean outlines, consistent line thickness and purposeful spacing.
Stylish foot mehndi designs in 2026 lean heavily into two trends. The first is the mandala base pattern placed in the center of the top of the foot with thin floral trails extending toward the toes and ankle. The second is the geometric lattice style where diamonds and triangles interlock across the foot surface.
One thing most people overlook is the toe section. Many designs focus entirely on the top of the foot and leave toes plain. Adding simple rings or bands on the first two toes pulls the entire design together and makes it look complete in photos.
Furthermore the ankle area works as a natural frame. A thin chain style border around the ankle ties together even a simple design and gives it a finished jewelry like quality.
Stylish Foot Mehndi Design Simple: The Best of Both Worlds
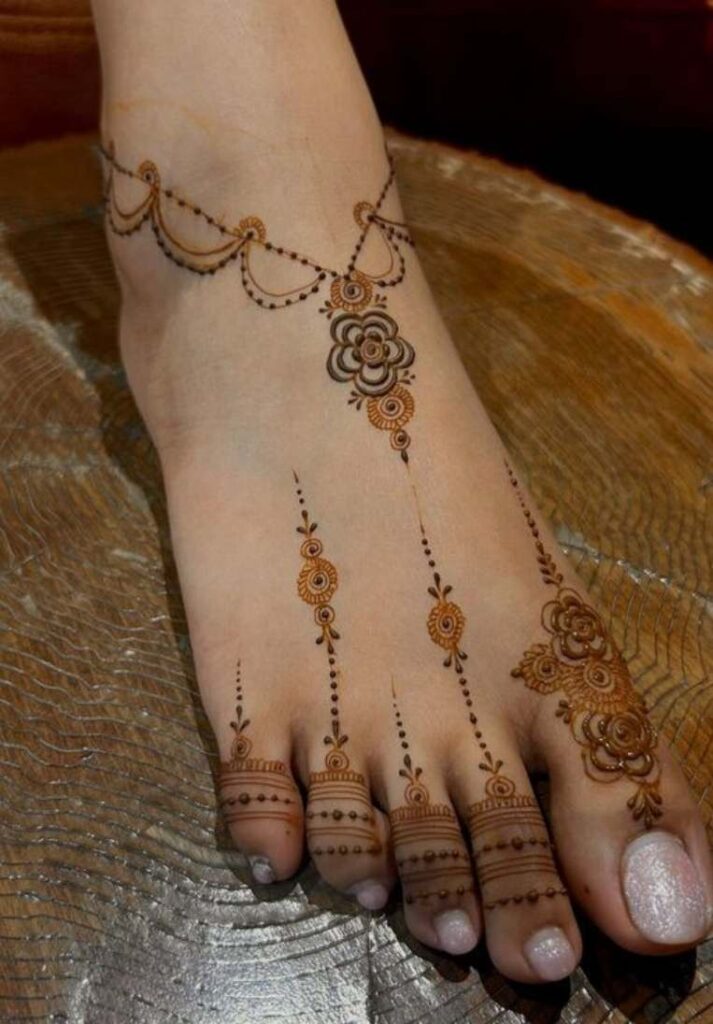
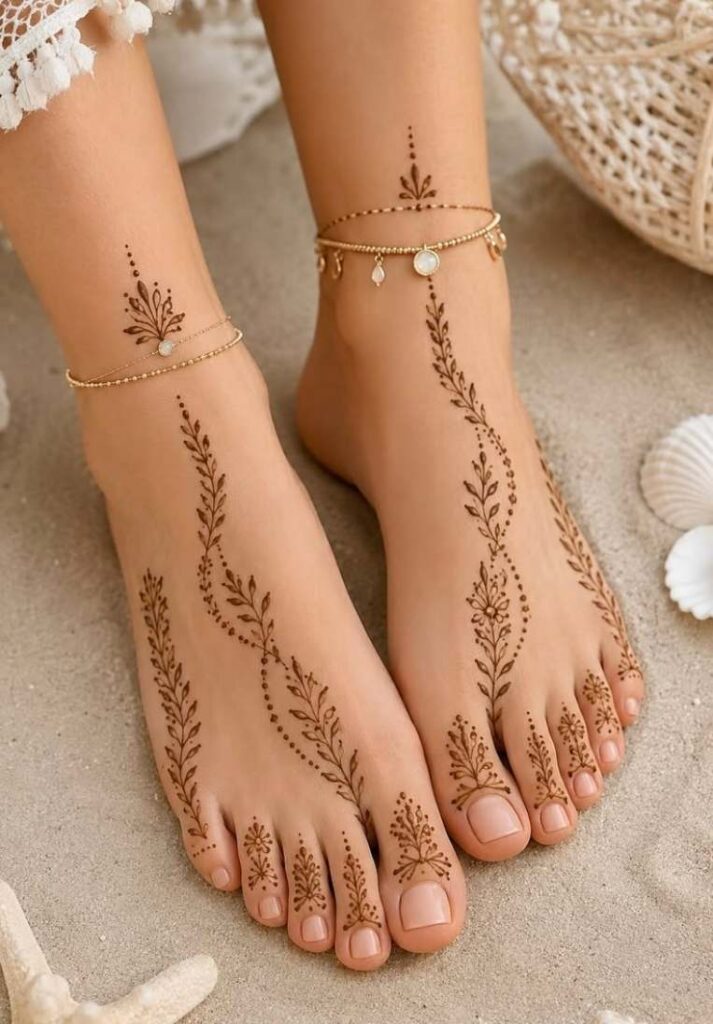
The phrase stylish foot mehndi design simple seems contradictory but it actually describes one of the most searched and most practical categories in mehndi art right now.
These designs use clean bold motifs placed with intention. Think a large single lotus in the center of the foot surrounded by nothing except four small petal shapes at each compass point. The result is striking because the empty space around the motif gives it room to breathe.
Another approach that works very well is the half and half style. The outer half of the foot from the little toe side to the ankle gets detailed work while the inner half stays completely empty. That asymmetry creates visual interest without requiring hours of work.
Front Foot Mehndi Design Simple: Covering the Top Correctly
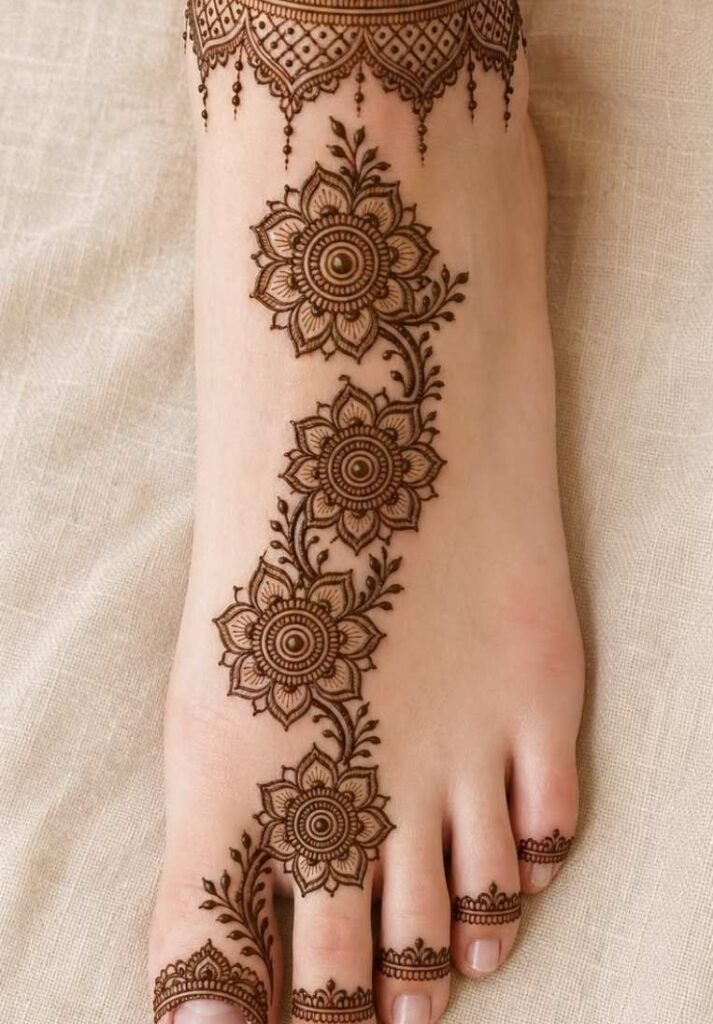
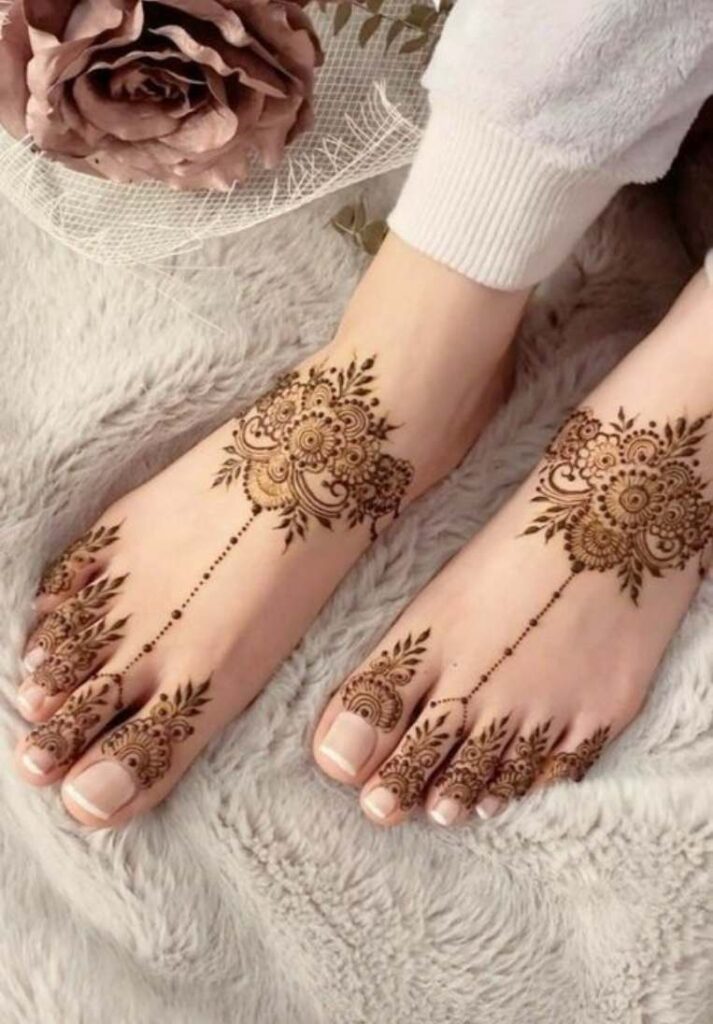
The front of the foot meaning the top surface from toes to ankle is the most visible area and therefore the most important to get right.
A front foot mehndi design simple style typically features:
A central motif at the highest point of the foot arch which is usually a flower or paisley. Thin connecting lines running toward each toe. An ankle border that frames the whole composition from above.
Surprisingly many women skip the connecting lines toward the toes and the result always looks incomplete. Those thin trails are what give the design movement and make it appear intentional rather than random.
Bridal Foot Mehndi Design: Full Coverage Patterns
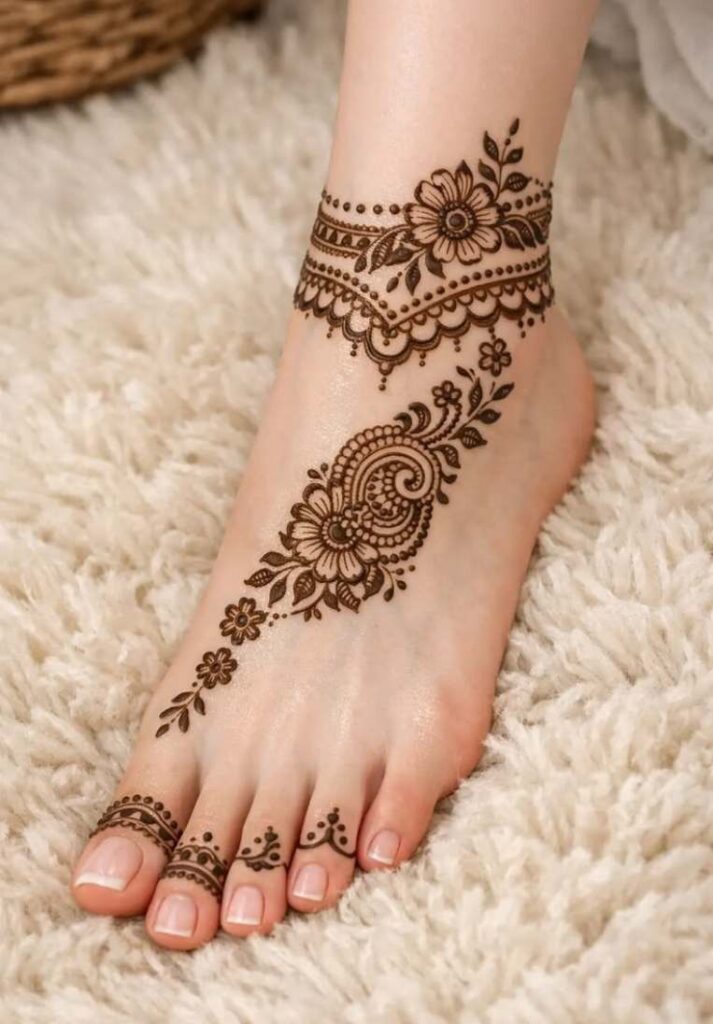
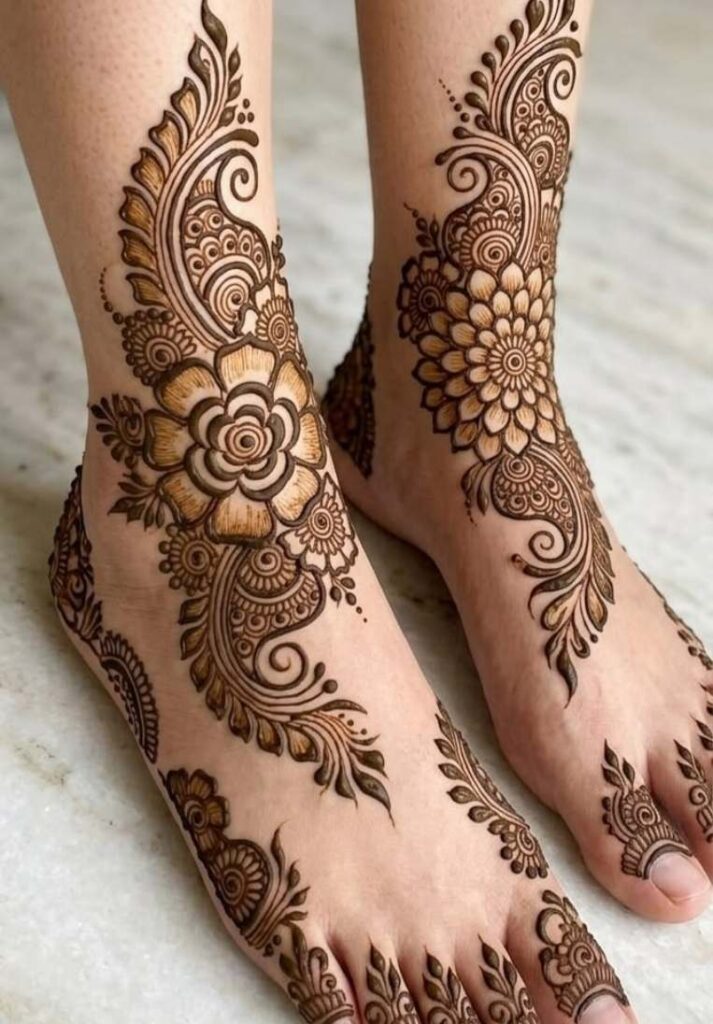
Bridal foot mehndi design is in a completely different category from everyday styles. A bridal design typically covers the entire top surface of the foot continues across all toes and extends up the ankle by 3 to 4 inches.
The traditional bridal elements that appear most consistently include:
Peacock motifs placed in the center of the foot with tail feathers fanning toward the toes. Fine mesh or grid work filling the background between larger motifs. A heavy anklet style border with hanging pendant shapes called tikki patterns. Lotus flowers across the toes.
In reality a full bridal foot design from an experienced artist takes between 90 minutes and 2 hours per foot. Brides who want this level of detail should book their mehndi artist at least 2 to 3 days before the wedding so the colour has time to fully develop.
| Bridal Design Element | Placement | Time Required |
| Central peacock motif | Top center of foot | 25 to 35 minutes |
| Toe coverage with rings | All five toes | 15 to 20 minutes |
| Ankle tikki border | Around ankle | 20 to 25 minutes |
| Background mesh fill | Full top surface | 20 to 30 minutes |
| Ankle extension | 3 to 4 inches up leg | 15 to 20 minutes |
Foot Mehndi Design Simple Easy and Beautiful: Beginner Tips
If you are applying mehndi yourself for the first time foot designs are actually easier to start with than hand designs. The reason is that you can rest your foot flat on a surface and work without the awkward angle that self application on hands requires.
Start with a pre drawn outline approach. Lightly sketch the design with a white eyeliner pencil before applying henna. That way you have a guide to follow and mistakes are easy to wipe away before the henna goes on.
Furthermore fresh henna paste that has been resting for at least 6 hours gives the darkest stain. Buying pre made cones from a trusted store and warming them in your hands for 5 minutes before application makes the paste flow more smoothly.
After applying the design leave it for a minimum of 4 to 6 hours before scraping it off dry. Do not wash it with water for the first 12 hours after removal. That waiting period is what allows the oxidation process to deepen the colour from orange to dark brown.
Foot Mehndi Design Photos: What to Look for Before Choosing
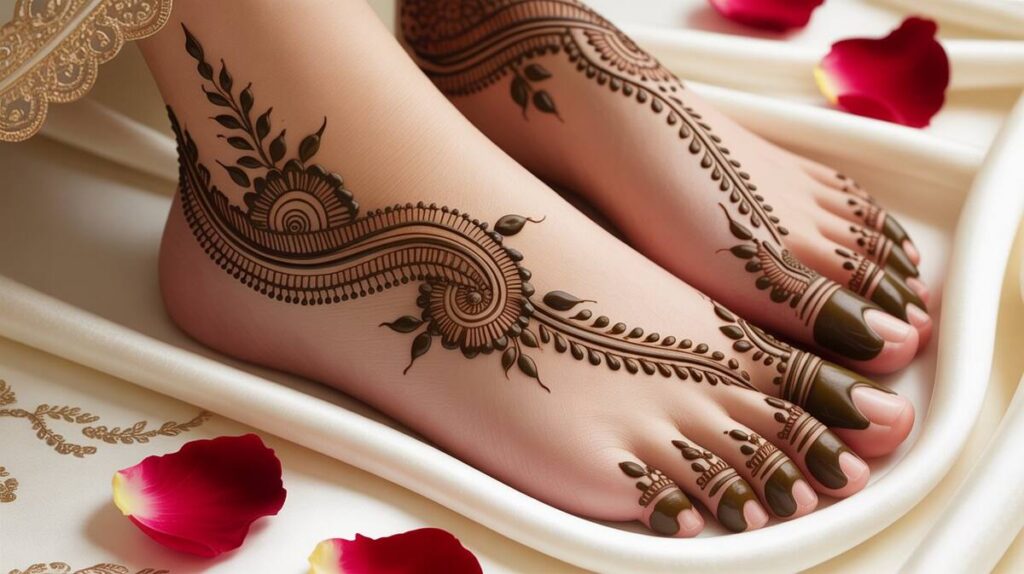
When browsing foot mehndi design photos online the single most useful filter is to search by occasion rather than by style name. A design that looks stunning in a studio photo sometimes appears too heavy or too light in real life depending on the setting.
Look specifically at photos taken 48 hours after application rather than immediately after removal. That is when the color is at its darkest and most accurate. Photos taken right after removal show an orange shade that does not represent the final result.
Beyond that pay attention to photos showing the design from the exact angle your foot will naturally be visible. Bridal designs are usually photographed from above while sitting. Standing photos emphasize the ankle and side more than the top surface.
FAQ: Foot Mehndi Design
How long does foot mehndi design last?
Foot mehndi design lasts 10 to 14 days on average because the skin on the top of the foot is smooth and non oily which allows the henna to stain deeply. Proper aftercare including keeping the area dry and moisturized with coconut oil extends the colour significantly.
Which foot mehndi design is best for beginners?
A simple ankle bracelet pattern or a single floral design on the top of the foot is best for beginners because both require only basic cone control and can be completed in under 25 minutes with clean results.
What is the difference between simple and bridal foot mehndi design?
Simple foot mehndi design covers a small section of the foot with minimal motifs while bridal foot mehndi design covers the entire top surface including toes and ankle with elaborate traditional patterns like peacocks lotuses and fine mesh fill work.
How long should I leave henna on my feet for the darkest colour?
Leave henna on your feet for at least 6 to 8 hours for the darkest possible stain. Feet stain more deeply than hands so the extended time makes a visible difference in the final colour depth.
Can I walk after getting foot mehndi done?
You should avoid walking for at least 30 to 45 minutes after application so the paste does not crack or smear. After it dries to a crust you can walk carefully on your heels while keeping the top of the foot elevated or protected.

Aiza Artistry is a passionate Mehndi artist and creative designer who specializes in elegant Arabic, bridal, and modern henna designs. With a love for traditional beauty and artistic expression, Aiza creates unique and easy-to-follow Mehndi patterns for every occasion.