
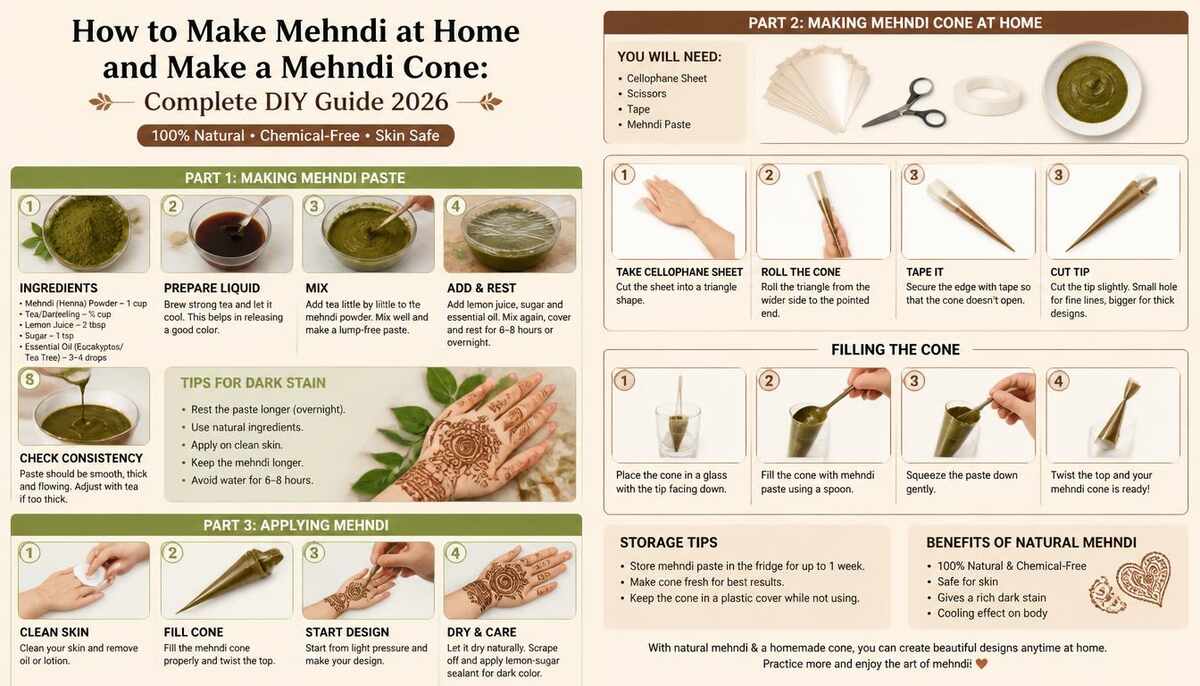

Making mehndi at home can be easier than you think. You do not need expensive equipment or professional tools to prepare a smooth henna paste and fill your own mehndi cone. With the right ingredients, a little patience, and the correct technique, you can create a cone that produces clean lines and beautiful designs.
Homemade mehndi also gives you more control over the ingredients, paste consistency, and cone size. However, the final result depends on the quality of your henna powder, how you mix the paste, and how carefully you prepare the cone.
In this guide, you will learn how to make mehndi at home, how to prepare the paste, how to make and fill a mehndi cone, and how to fix common problems such as clogging, leaking, and uneven lines.
What You Need to Make Mehndi at Home
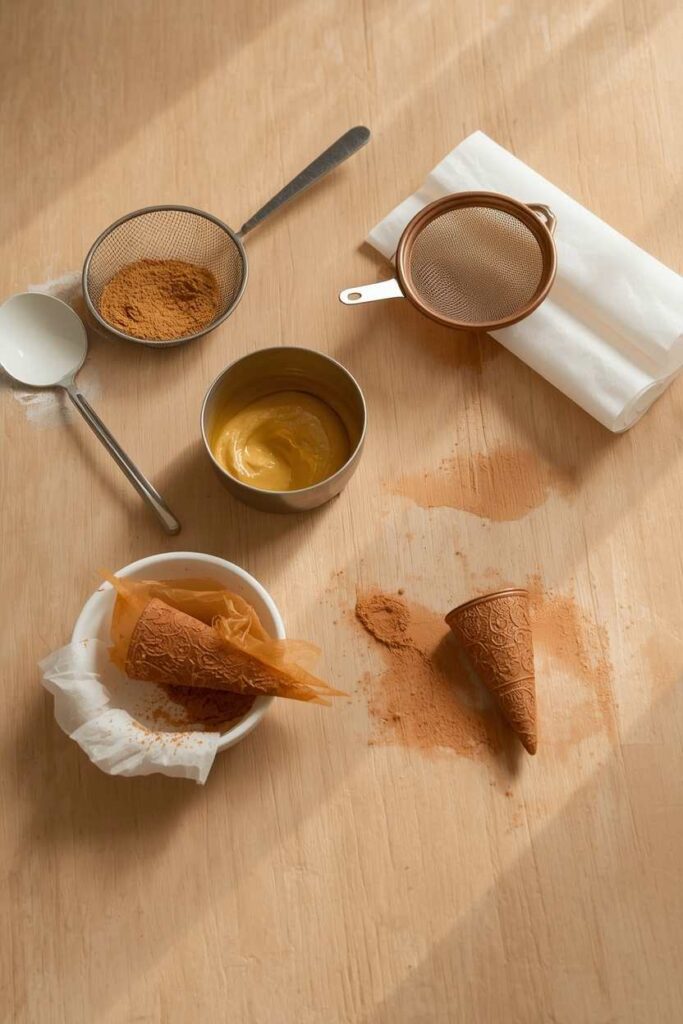
Before starting, gather all your ingredients and tools. Preparing everything in advance makes the process cleaner and prevents you from rushing through important steps.
Ingredients for Homemade Mehndi Paste
You may need:
- Natural henna powder
- Lemon juice or another suitable mixing liquid
- A small amount of sugar, if needed
- A suitable essential oil, used carefully and only if appropriate
Use natural henna powder from a clearly labelled and reliable source. Avoid products that do not clearly explain their ingredients.
Tools for Preparing the Paste
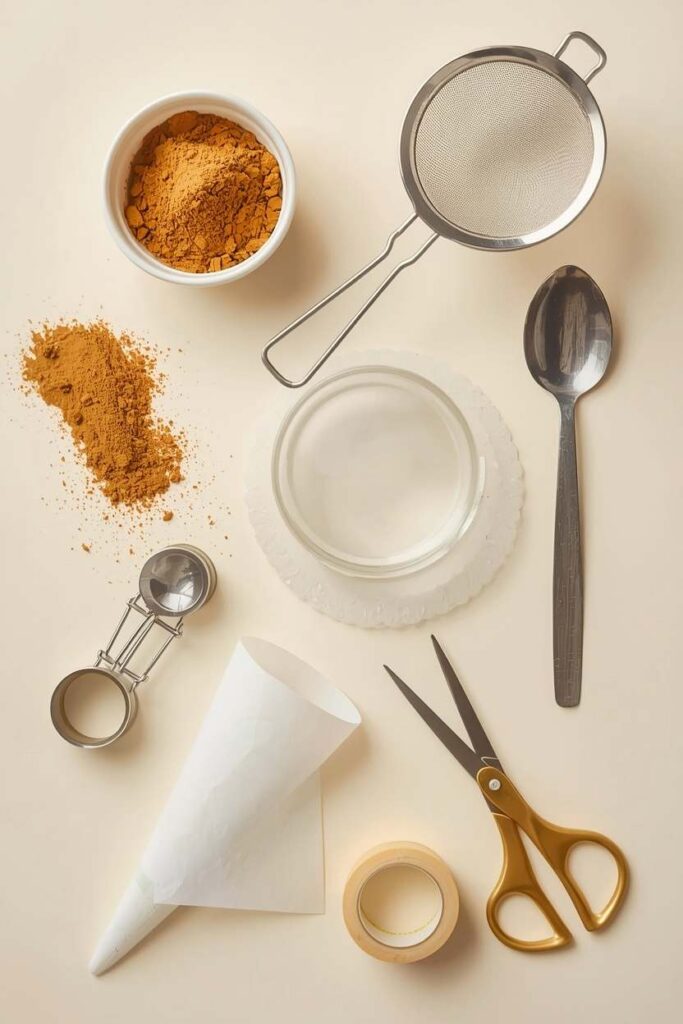
Keep these items ready:
- Clean mixing bowl
- Fine sieve
- Spoon or spatula
- Measuring spoon
- Airtight cover or plastic wrap
Materials for Making a Mehndi Cone
For the cone, you will need:
- Cellophane or suitable cone sheet
- Scissors
- Tape
- Small spoon
- Rubber band or thread, if required
A thin, flexible sheet usually makes it easier to create a neat cone with a narrow tip.
How to Make Mehndi Paste at Home
The quality of your mehndi design depends heavily on the paste. If the mixture is too thick, it may block the cone. If it is too runny, the lines can spread and lose their shape.
1. Choose Good-Quality Henna Powder
Start with fresh, natural henna powder. Good-quality powder should have a fine texture and should not contain visible dirt, large particles, or unusual additives.
The powder’s freshness matters because henna gradually loses its staining strength when it is stored for too long or exposed to heat and moisture.
Do not choose a product simply because it promises an extremely dark stain. Read the label carefully and avoid unlabelled products.
2. Sift the Henna Powder
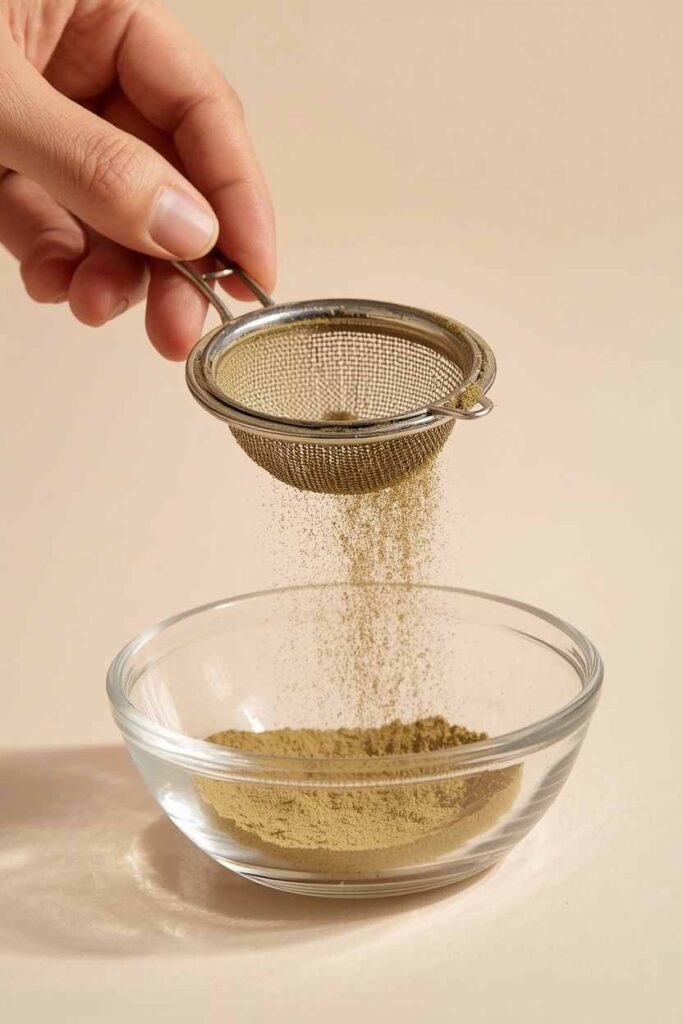
Place a fine sieve over a clean bowl and pass the henna powder through it.
This step removes small lumps and unwanted particles that could later block the cone tip. Even if the powder looks smooth, sifting is worth the extra few minutes.
A fine powder also makes it easier to create delicate lines and detailed mehndi patterns.
3. Mix the Ingredients Gradually
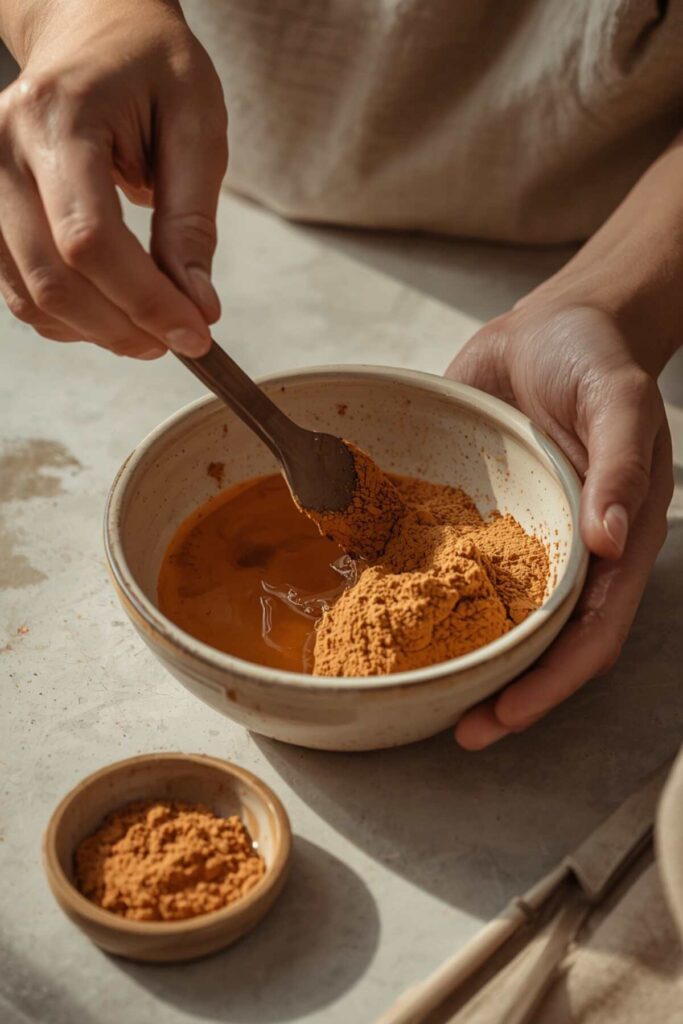
Add the mixing liquid slowly instead of pouring everything into the powder at once.
Begin by mixing a small amount of liquid into the henna powder. Stir continuously until the dry powder is absorbed. Continue adding liquid in small quantities until the mixture starts to come together.
At this stage, the paste may look slightly uneven. Do not add too much liquid just to make it smooth quickly. It is easier to loosen thick paste later than to correct a watery mixture.
4. Get the Right Paste Consistency
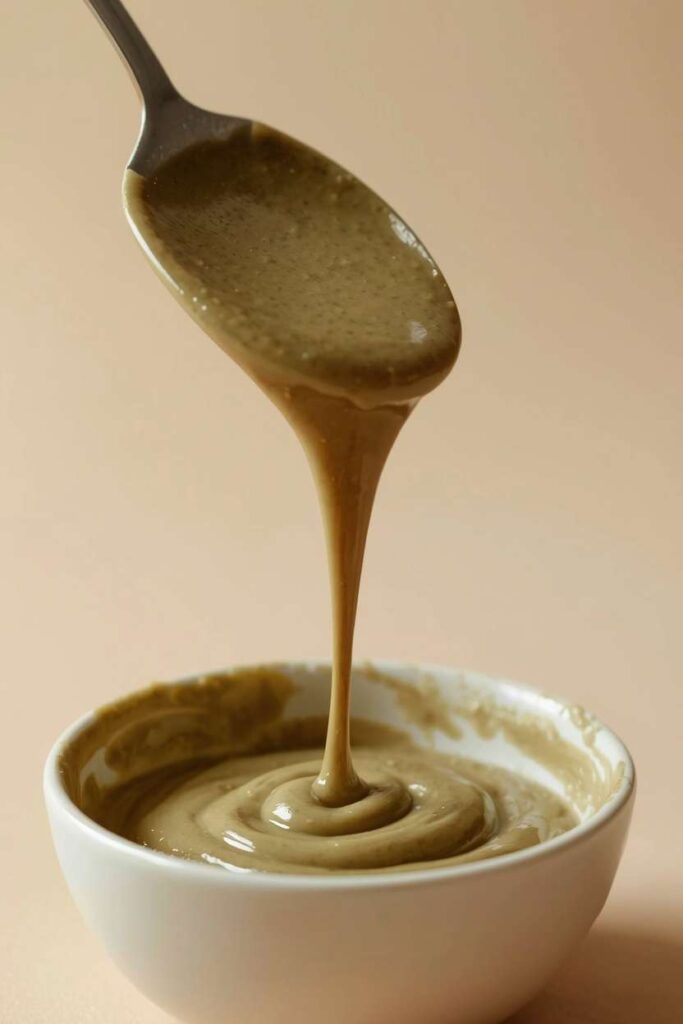
The ideal mehndi paste should be smooth, soft, and easy to push through a cone. It should not be so thick that it requires heavy pressure, and it should not flow like a liquid.
A useful way to check the consistency is to lift a little paste with a spoon. It should fall slowly and form a soft ribbon rather than dropping like a solid lump.
If the paste is too thick, add a few drops of liquid and mix again. If it becomes too runny, add a little sifted henna powder and allow the mixture to settle before judging it.
5. Cover and Rest the Paste
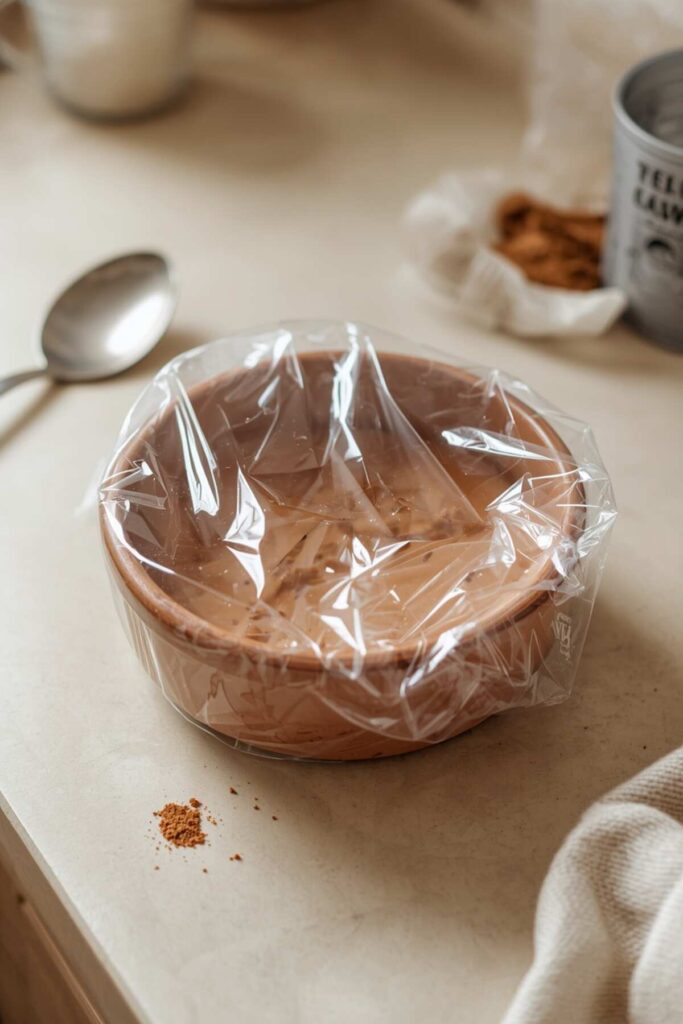
Once the paste is mixed, scrape the sides of the bowl and gather the mixture into one place.
Cover it properly with plastic wrap or an airtight lid. Try to keep the surface covered so it does not dry out.
Natural henna paste needs time for its dye to release. The required resting period depends on the henna powder, temperature, and mixing method. Follow the powder supplier’s instructions whenever they are available.
Do not assume that the paste is ready simply because it has reached a smooth texture.
6. Test the Paste Before Making the Cone
After the recommended resting period, test a small amount of paste on paper or a less visible area of skin.
Check whether:
- The paste comes out smoothly
- The line remains together
- There are no visible lumps
- The paste does not release too much liquid
- The colour begins to develop normally
If the paste feels gritty or repeatedly blocks the opening, it may need further straining or adjustment.
How to Make a Mehndi Cone at Home
Making a cone requires a little practice. The most important part is creating a firm shape with a narrow, controlled tip.
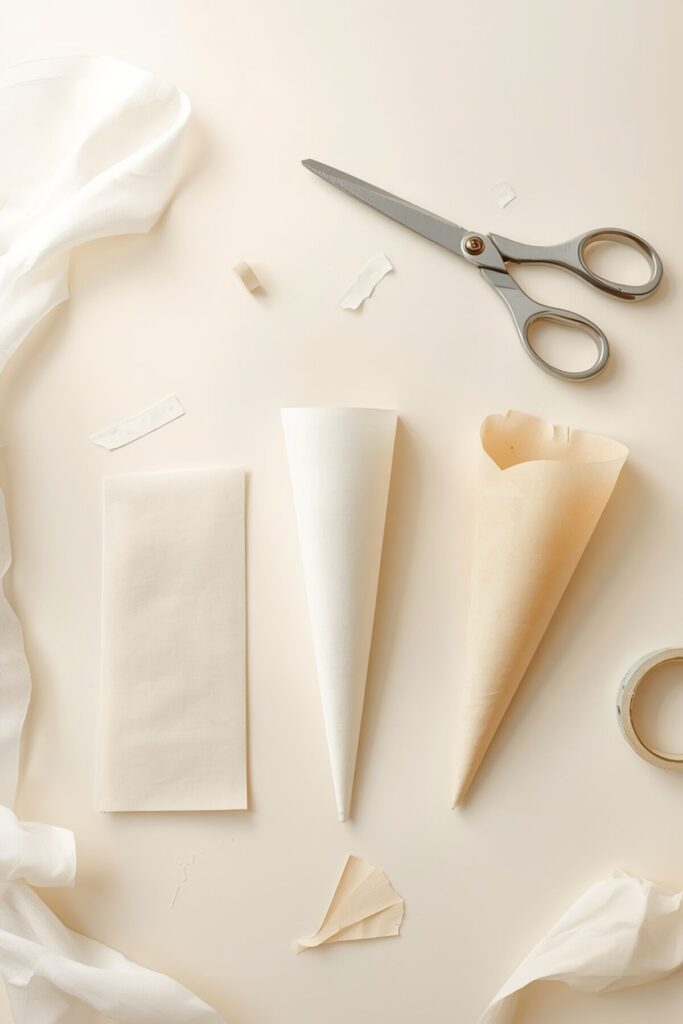
1. Prepare the Cone Sheet
Cut a manageable piece of cone sheet. A very large sheet may be difficult for beginners to handle, while a very small one may not hold enough paste.
Place the sheet on a flat, clean surface. Make sure there are no folds or damaged edges that could create gaps.
2. Roll the Sheet Into a Cone
Start rolling one corner of the sheet inward to form the tip.
Keep the tip tight while wrapping the remaining sheet around it. The cone should gradually become wider toward the top.
The narrow end must remain closed. If the tip is loose, paste may leak before you even begin applying the design.
Once the cone shape looks secure, use a small piece of tape to hold the outer edge in place.
3. Fill the Cone Without Creating Air Pockets
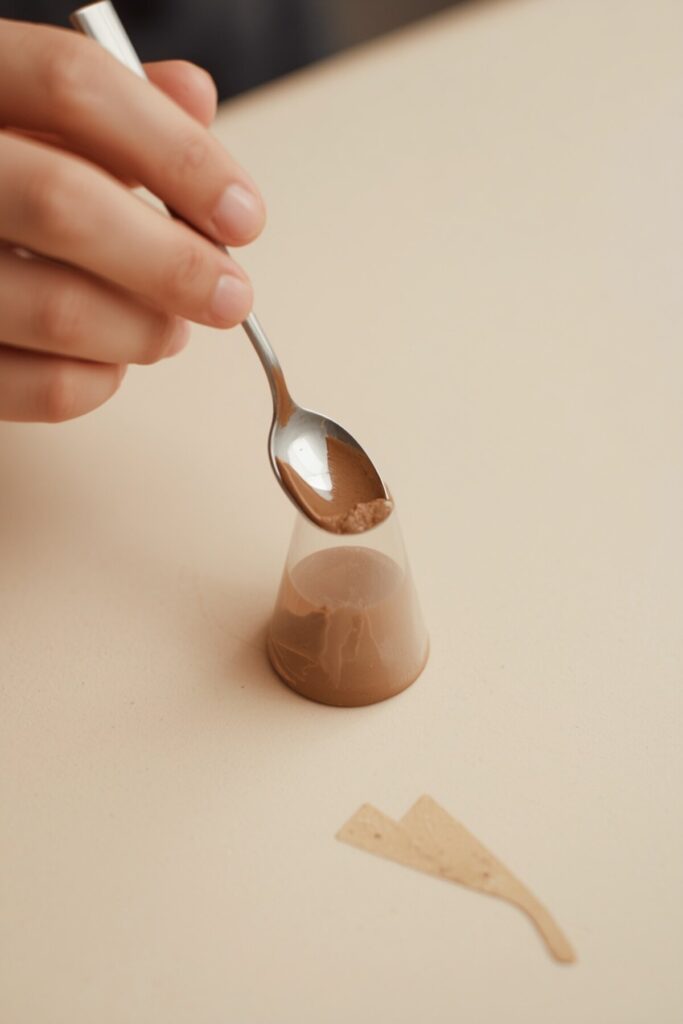
Use a spoon to transfer the prepared paste into the cone. Add a small amount at a time instead of filling it in one large scoop.
After adding the paste, gently tap the cone against the table or push the mixture toward the tip with a clean tool.
Air pockets can interrupt the flow and cause the cone to suddenly release a large amount of paste. Taking your time during filling can prevent this problem.
Do not fill the cone completely. Leave enough space at the top to fold and seal it properly.
4. Fold and Seal the Cone
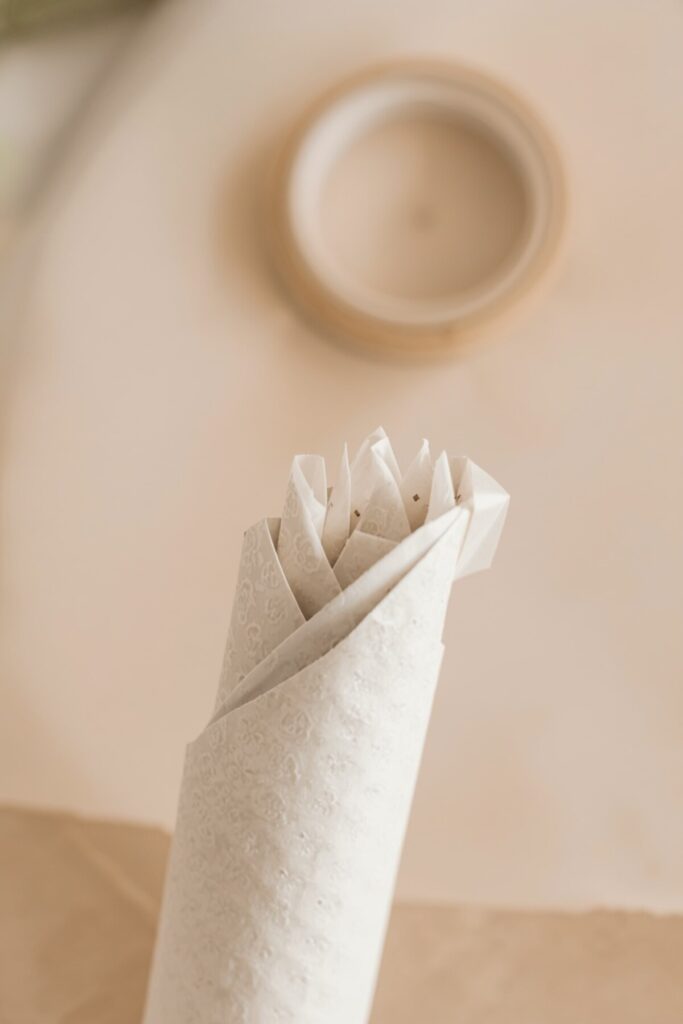
Once the cone is filled, gently press the paste downward.
Fold the open top several times to prevent the mixture from moving backward. Secure the folded section with tape or another suitable method.
Check the sides carefully. If you notice a small opening, seal it before testing the cone.
A properly sealed cone should feel firm but still remain comfortable to hold.
5. Cut and Test the Cone Tip
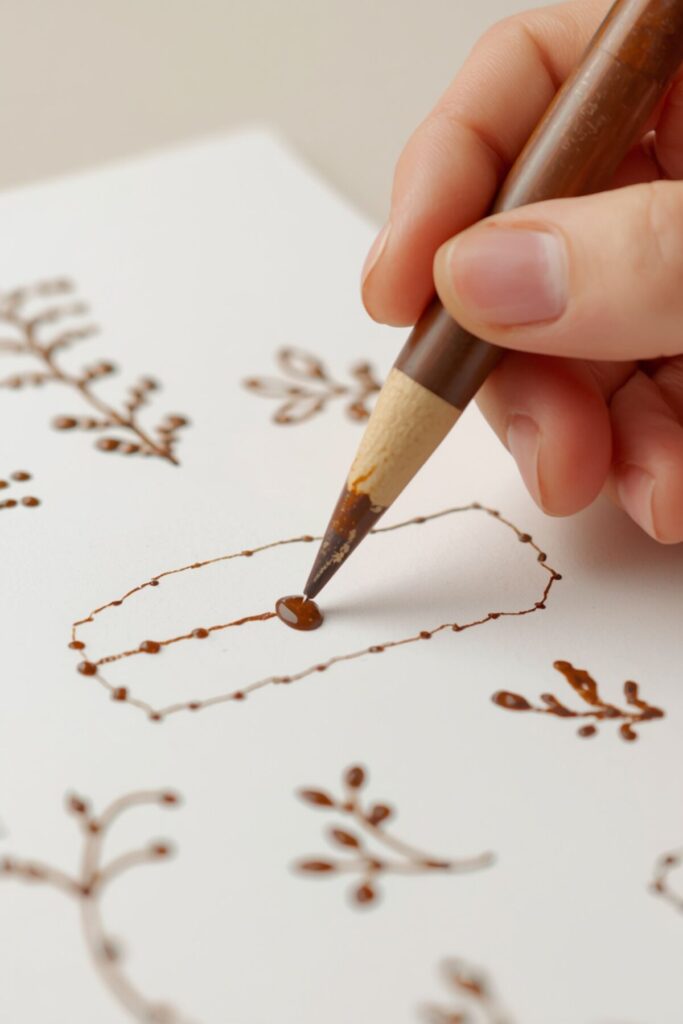
Cut only a very small opening at the tip. You can always make the hole larger, but you cannot make it smaller again.
Test the cone on paper first. Try making:
- Thin straight lines
- Small dots
- Curved lines
- Simple leaves
- Short floral patterns
If the paste comes out unevenly, check for air pockets, lumps, or an opening that is too large.
How to Fix Common Mehndi Cone Problems
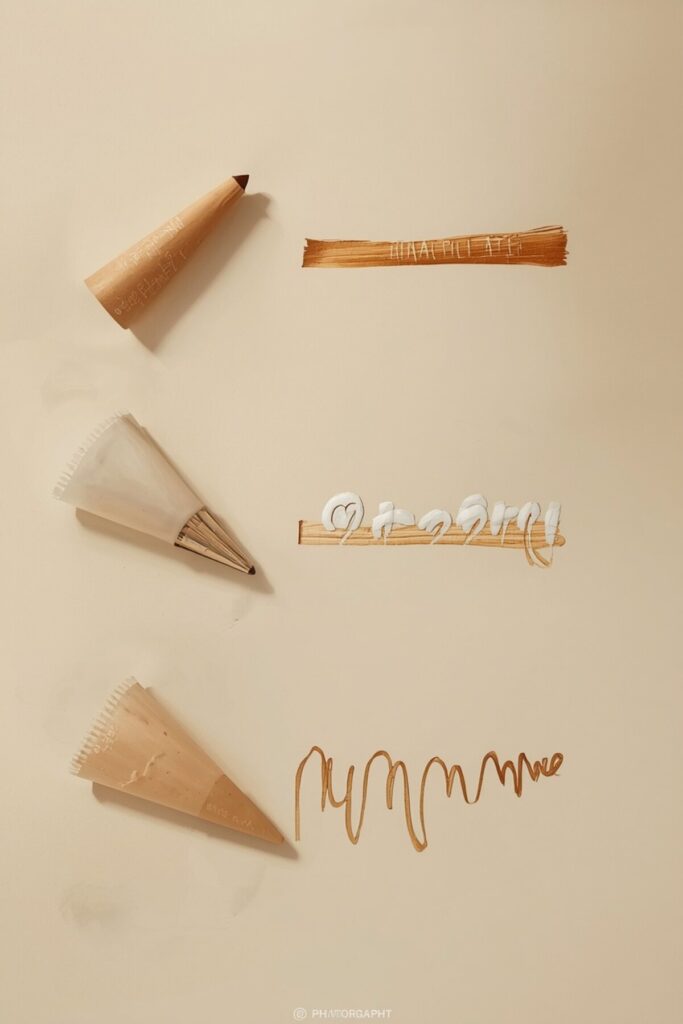
Why Is the Mehndi Paste Too Thick?
Thick paste may contain too little liquid or may have dried slightly while resting.
Add a few drops of liquid and mix thoroughly. Avoid adding a large amount at once because this can make the paste too runny.
Why Is the Paste Too Runny?
Runny paste may spread on the skin and make detailed designs difficult.
Add a small amount of sifted henna powder. Mix it well and allow the paste to settle before testing it again.
Why Is the Cone Leaking?
A cone can leak because of:
- A loose fold
- Poor-quality sheet
- Too much paste
- An unsealed side
- Excess pressure during application
Inspect the cone before using it and reinforce weak areas with tape.
Why Does the Cone Tip Keep Blocking?
The tip may be blocked by lumps, poorly sifted powder, or dried paste.
Try gently massaging the cone toward the tip. If the blockage remains, cut a slightly larger opening and test it again.
Why Are the Lines Uneven?
Uneven lines often result from inconsistent pressure, a thick paste, or an unsuitable cone opening.
Practise on paper first. Keep the cone at a comfortable angle and apply steady pressure rather than squeezing it suddenly.
How to Store Homemade Mehndi Paste and Cones
Natural henna paste does not remain fresh indefinitely. Storage conditions have a major effect on its quality.
Storing Fresh Mehndi Paste
If you are not using the paste immediately, place it in an airtight container. Keep it away from heat and direct sunlight.
For longer storage, freezing is generally used to slow down the dye-release process and preserve prepared henna paste. Follow a reliable storage method and avoid repeatedly thawing and refreezing the same batch.
Storing Filled Mehndi Cones
Filled cones should be kept sealed and protected from heat. If you plan to use them later, freezing may help preserve the paste for longer.
Always label the date of preparation so you can keep track of its age.
When Should You Discard Mehndi Paste?
Discard the paste if it develops an unusual smell, visible mould, contamination, or an unexpected change in texture.
Do not use a mixture simply because it is still producing colour. Clean handling and safe storage are equally important.
How to Get a Darker Natural Mehndi Stain
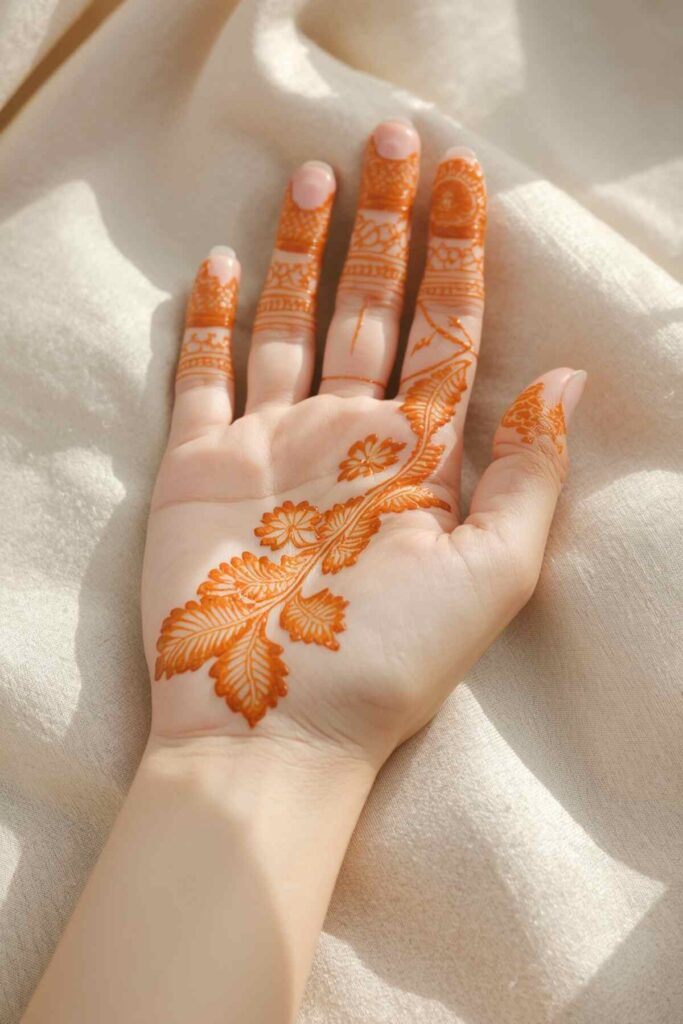
A darker stain depends on several factors, including henna quality, paste preparation, skin type, application time, and aftercare.
Use Fresh Natural Henna
Fresh, suitable henna powder generally provides better staining potential than old or poorly stored powder.
Allow the Paste to Develop Properly
Give the paste enough time for the dye to release according to the product’s instructions. Rushing this stage may result in a weaker stain.
Apply Mehndi to Clean, Dry Skin
Clean the skin before application. Avoid applying lotion, oil, or heavy cream immediately before using mehndi because these products may affect how the paste sits on the skin.
Let the Design Dry Naturally
Allow the paste to dry without disturbing the design. Avoid rubbing or touching the pattern while it is still wet.
Remove the Dried Paste Gently
Once the paste has dried, remove it gently. Avoid washing the area immediately if you want to give the stain time to deepen.
Give the Colour Time to Develop
Natural henna often appears orange at first. The colour can deepen over the following hours and may continue changing during the next couple of days.
A dark stain is not produced by one secret ingredient. It is usually the result of good-quality henna, proper preparation, and suitable aftercare.
Common Mistakes to Avoid
Avoid these mistakes when preparing homemade mehndi:
- Using unlabelled or questionable henna products
- Skipping the sifting process
- Adding too much liquid at once
- Using the paste before it is ready
- Making the cone tip too wide
- Overfilling the cone
- Leaving the paste uncovered
- Storing the mixture in unsuitable conditions
- Applying mehndi to irritated or damaged skin
Small preparation mistakes can affect the final result more than beginners expect.
Safety Tips for Homemade Mehndi
Choose Clearly Labelled Natural Henna
Use products that clearly identify their ingredients. Be cautious with products promising an unusually fast or extremely dark stain.
Be Careful With Black Henna
Black henna products may contain substances that can cause serious skin reactions. Avoid using black henna unless you can verify that the product is safe and properly labelled.
For additional safety information, consult the FDA’s guidance on henna, temporary tattoos, and black henna.
Avoid Irritated Skin
Do not apply mehndi to cuts, rashes, sunburned skin, or areas showing irritation.
Use Essential Oils Carefully
Some essential oils can irritate the skin when used incorrectly. Never add an essential oil without understanding its suitability, concentration, and safety requirements.
Keep Your Tools Clean
Use clean bowls, spoons, and working surfaces. Avoid introducing water, dirt, or other contaminants into the prepared paste.
Mehndi Designs You Can Practise With Your Homemade Cone
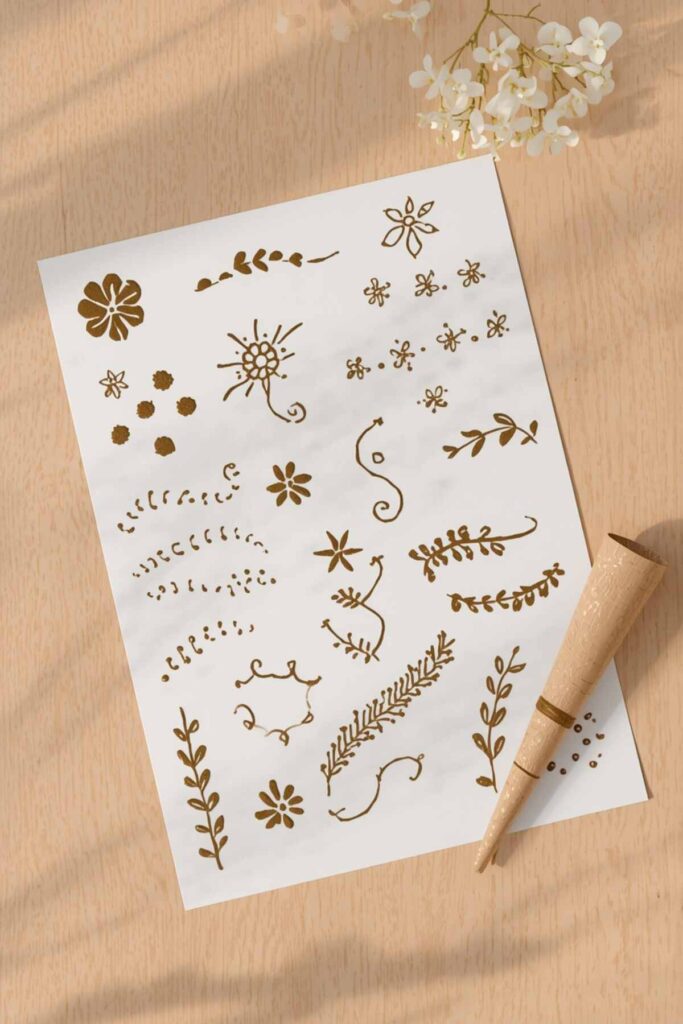
Once your cone is ready, begin with simple patterns instead of immediately attempting a complicated bridal design.
You can practise with:
- Small flowers
- Curved vines
- Dots and leaves
- Simple finger patterns
- Basic wrist bands
- Minimal palm motifs
If you are new to mehndi application, explore these simple mehndi designs for beginners before moving to more detailed patterns.
You can also try these easy front-hand mehndi designs to improve your cone control and line consistency.
Follow MehndiFlow on Pinterest for More Mehndi Ideas
Looking for more patterns to practise with your homemade cone? Follow MehndiFlow on Pinterest for simple, creative, Arabic, floral, and modern mehndi design inspiration.
Save your favourite designs and practise them gradually as your cone control improves.
Frequently Asked Questions
Can I Make Mehndi at Home Without Lemon Juice?
Yes. The mixing liquid depends on the henna powder and the method you are following. Use a suitable alternative and add it gradually to control the consistency.
How Long Should Homemade Mehndi Paste Rest?
Resting time depends on the henna powder, room temperature, and preparation method. Follow the supplier’s instructions when available instead of relying on one fixed time.
How Do I Know If My Mehndi Paste Is Ready?
The paste should be smooth and suitable for cone application. You can test it on paper to check whether it produces consistent lines without lumps.
How Can I Make a Smooth Mehndi Cone?
Sift the powder carefully, prepare a smooth paste, use a good-quality cone sheet, and fill the cone slowly. These steps help reduce blockages and uneven lines.
Why Does My Mehndi Cone Keep Leaking?
The cone may be poorly sealed, overfilled, or made from a weak sheet. Check the folds and sides before applying pressure.
Can I Freeze Homemade Mehndi Cones?
Freezing is commonly used to preserve prepared natural henna paste for later use. Store cones securely and avoid repeatedly thawing and refreezing them.
How Long Can Homemade Mehndi Paste Be Stored?
Storage life depends on the ingredients, preparation method, and temperature. Fresh paste generally requires careful storage, and it should be discarded if it shows signs of contamination or spoilage.
Is Homemade Mehndi Safer Than Black Henna?
Homemade mehndi made with verified natural henna can help you control the ingredients. However, homemade does not automatically mean safe. Ingredient quality and proper handling are essential.
Final Thoughts
Making your own mehndi paste and cone takes a little patience, but the process becomes much easier once you understand consistency, resting time, and cone control. Start with a small batch, test the paste before filling the cone, and practise simple patterns first.
Created by Ashir Zahid